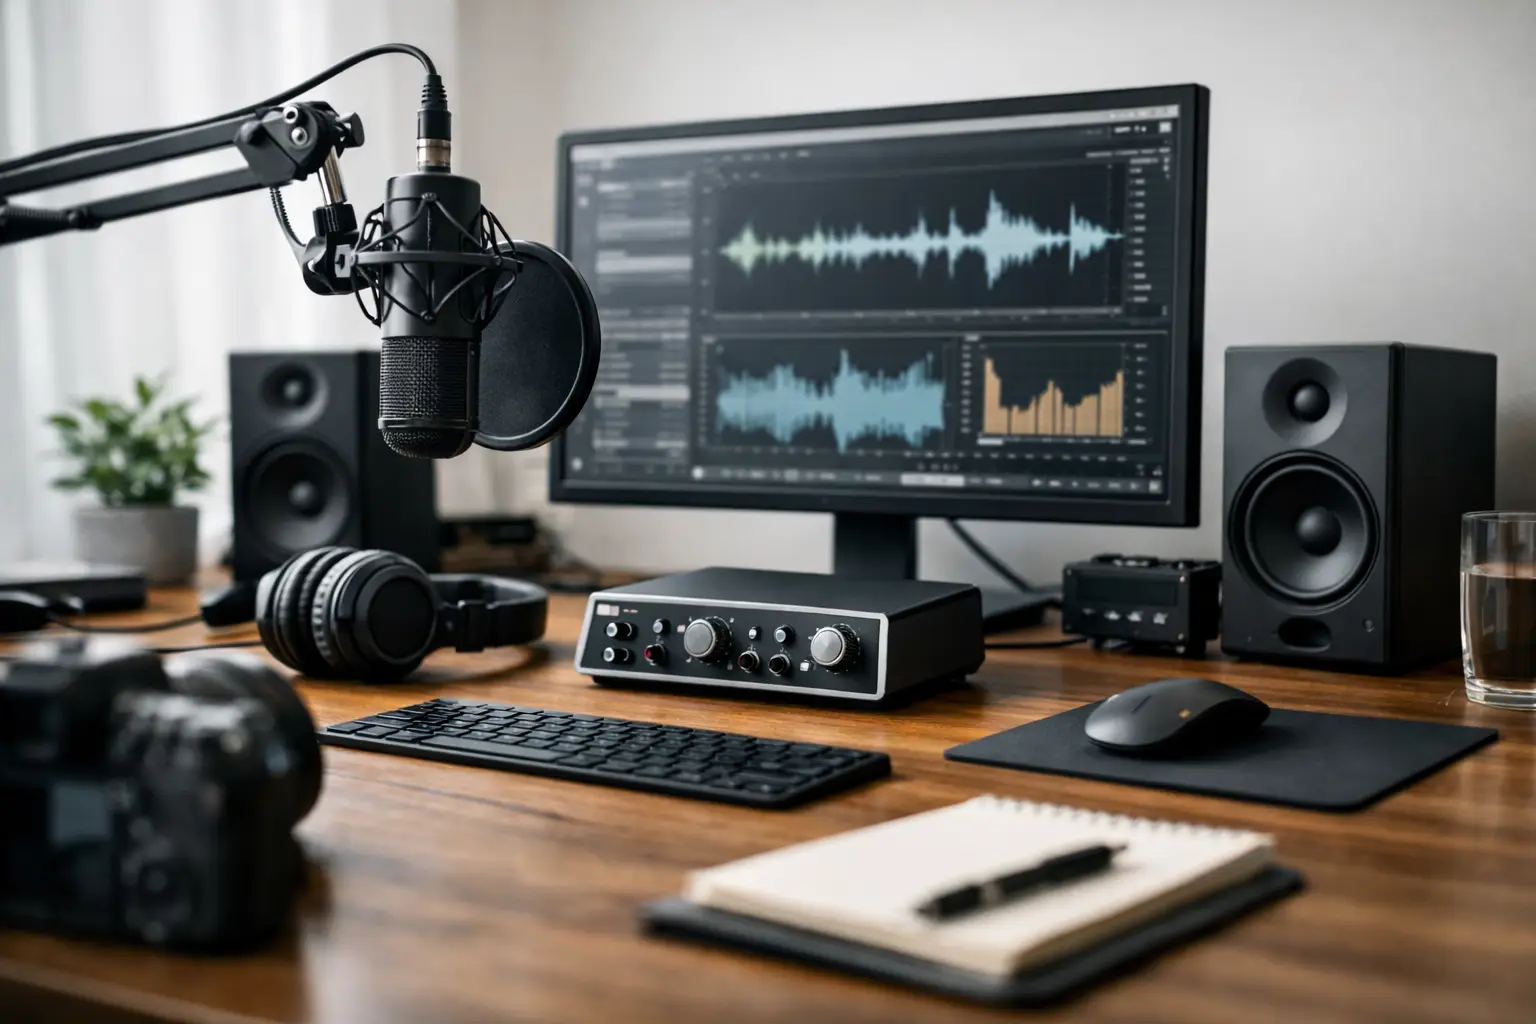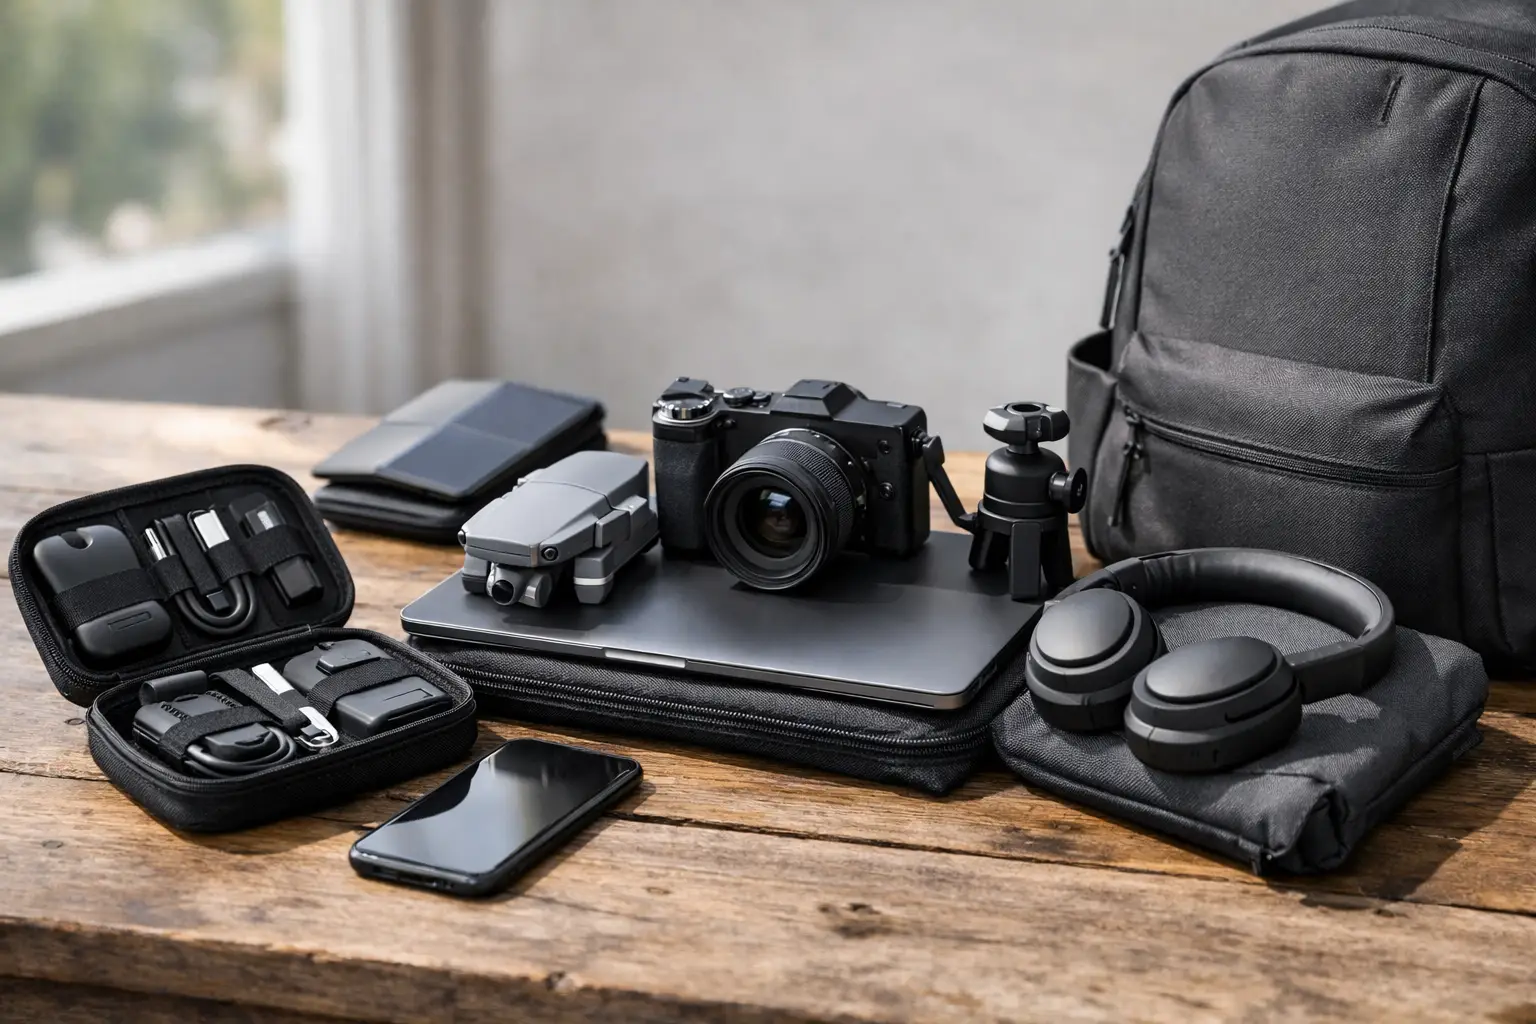
A digital nomad’s bag usually fails before the trip begins. It fails when a laptop, tablet, camera, backup drive, three chargers, a travel router, and a speculative “just in case” accessory all get treated as equally essential. Learning how to pack nomad tech is less about finding smaller gadgets and more about assigning every item a job in a working system.
The goal is not minimalism for its own sake. It is to arrive in a new city able to work, communicate, navigate, create, and recover from a problem without carrying the weight of a small IT department. The best setup is the lightest one that protects your income and preserves your options.
How to Pack Nomad Tech Around Your Workday
Start with the work you are actually paid to do. A writer who works in browser-based tools needs a different kit than a video editor moving large files, and a consultant who spends six hours a day on calls has different priorities than a photographer who shoots on location.
Build your packing decisions in three layers. First comes the revenue device: the laptop, tablet, camera, or specialized hardware that directly produces your work. Second is the continuity layer: power, connectivity, storage, and security. Third is the convenience layer: accessories that make the setup nicer but are not required to complete a normal workday.
This distinction prevents a common nomad mistake: treating convenience gear as operational gear. A second monitor may improve focus, but if you can finish a client presentation on the laptop screen, it belongs in the convenience category. That does not mean leave it behind automatically. It means it should earn its space after the revenue and continuity layers are covered.
A useful test is simple: if this item disappears tomorrow morning, can you still work for 48 hours? If the answer is yes, it is not mission-critical. If the answer is no, either pack it securely or create a fallback.
Build a Core Hardware Stack, Not a Gadget Collection
For most knowledge workers, the core stack should fit inside one personal item or carry-on backpack. That usually means one primary laptop, one phone, a compact charger, a power bank, earbuds or a headset, and a short list of cables.
The laptop should be selected for your actual workload, not for the identity of being a traveler. Thin, low-power machines are excellent for writing, research, operations work, and many business tasks. They become frustrating when you are regularly editing 4K footage, running local development environments, or managing large design files. Buy for the heaviest task you perform repeatedly, not the task you might perform once a year.
Your phone is not just a communication device. It is your boarding pass wallet, backup hotspot, map, camera, two-factor authentication device, and emergency banking terminal. Protect it accordingly. Use a durable case, keep a screen protector on it, and make sure key travel information can be accessed offline. A dead or stolen phone creates more immediate disruption than a dead laptop in most transit scenarios.
A compact USB-C charger with enough wattage for your laptop is one of the highest-value items in the bag. If possible, choose a model with multiple ports so it can charge a laptop and phone at the same time. This reduces outlet competition in airports and cafes and eliminates redundant charging bricks. Check the total wattage, though. Multiple ports do not guarantee each port can deliver full laptop power when everything is connected.
Use One Charging Standard Where Possible
USB-C has made lean packing easier, but only if you enforce the standard. Before a trip, identify every device that needs power and reduce the number of cable types. A laptop, phone, headphones, power bank, and camera that all charge via USB-C simplify the entire kit.
Some equipment will resist this plan. A dedicated camera battery charger, smartwatch puck, or older accessory may still need its own cable. Keep exceptions intentional. Label obscure cables with a small tag or colored wrap, especially if they look interchangeable but serve different devices.
Avoid packing long cables by default. One short USB-C cable for daily carry, one longer cable for accommodation use, and a compact backup cable are often enough. The longer cable matters in hotel rooms where outlets are inexplicably placed behind beds or desks.
Treat Power as a Redundancy System
Nomad tech is only as useful as its power plan. Your primary charger is not the whole plan. A small, airline-compliant power bank is the second layer, particularly for long travel days, delayed connections, and locations where outlets are scarce.
Battery capacity is a trade-off. A large power bank can keep a laptop alive, but it adds real weight and may be subject to airline limits. A smaller model is easier to carry daily and may be enough to fully recharge a phone or provide a critical partial laptop charge. For most people, that is the smarter balance. Video professionals, field photographers, and people working away from reliable power need to calculate capacity more aggressively.
Keep power banks in your personal item, not checked luggage. Airlines generally require lithium-ion batteries to travel in the cabin, and your power bank is most useful when it is within reach anyway. Check the airline’s current battery rules before departure, especially for high-capacity units.
A universal travel adapter belongs in the continuity layer if you cross regions. Choose one with a compact shape and reliable plug mechanism, not the cheapest all-in-one block available. It should adapt plugs, not convert voltage. Most modern laptop and phone chargers handle international voltage automatically, but verify the fine print on any older device.
Organize Cables for Fast Recovery
Cable clutter is not merely annoying. It makes failures harder to diagnose when you are tired, late, or working from a cramped hotel desk. Put every small accessory in a dedicated tech pouch that opens flat and stays with your carry-on.
The pouch should hold chargers, cables, adapter, card readers, spare memory cards, and small cleaning supplies. Keep the layout consistent from trip to trip. When your charging cable always lives in the same elastic loop, you notice immediately when it is missing.
Do not over-organize to the point that packing becomes a ritual. The system needs to survive a 5 a.m. checkout. A simple pouch with a few clear zones beats a catalog of tiny cases that require ten minutes of repacking each morning.
For creators and anyone carrying storage media, use a small protective case for SD cards and portable drives. These items are easy to lose and disproportionately expensive to replace when they contain current work. A rugged drive is useful, but it is not a backup strategy by itself.
Pack for Data Loss, Theft, and Bad Wi-Fi
A nomad setup becomes professional when it anticipates failure. Back up important files before departure, then maintain a routine while traveling. The practical approach is to keep active work synced to a trusted cloud service when connection allows and maintain a separate local copy for essential projects.
Do not place every copy of your work in the same bag. If you travel with a portable SSD, consider keeping it separate from the laptop during transit. A laptop sleeve in your backpack and a drive in a smaller personal item provide more resilience than storing both together. This is especially relevant for creators carrying raw footage or business owners traveling with client materials.
Public Wi-Fi deserves the same skepticism as any shared infrastructure. A personal hotspot can be enough for many travelers, while a dedicated travel router makes sense for people who work with sensitive business systems or need multiple devices connected consistently. The router adds another item to charge and configure, so it is not universally necessary. Pack it when your work risk justifies it.
Before leaving, make sure your device encryption, passwords, remote-wipe capability, and account recovery methods are in order. Two-factor authentication should not depend solely on one phone number. Keep recovery codes stored securely and make sure a lost phone does not lock you out of email, banking, or client systems.
Make Airport Security and Transit Easier
Put the devices you need to remove at security near the top of the bag. This seems obvious until a laptop is buried under a sweatshirt, camera gear, and a week’s worth of cables. Use a backpack with a dedicated laptop compartment, and keep the tech pouch accessible without unpacking the full bag.
Weight distribution matters more than most people expect. Dense objects such as chargers, drives, and camera batteries should sit close to your back and high enough that they do not pull the bag away from your body. A poorly balanced backpack becomes exhausting on airport transfers and long walks to transit stations.
Keep essential work gear in your personal item if airline carry-on space is uncertain. Overhead-bin gate checks happen, and checked luggage is not a safe place for laptops, batteries, drives, or irreplaceable equipment. If you must choose, protect the laptop, phone, documents, power bank, and one charger first.
Run a Pre-Flight Tech Check
The night before departure, do not just charge everything. Test the system. Open your work apps, confirm your hotspot works, check available storage, download essential files for offline access, and verify that your charging setup delivers power to the laptop.
This is where hidden friction appears: a cable that only charges slowly, a power bank left in a drawer, a browser session that needs a two-factor code, or a full drive that cannot accept new footage. Fixing these problems at home is cheap. Fixing them from an airport gate is not.
The best nomad tech bag feels almost boring. Nothing is there to impress another traveler. Every component has a defined role, a known location, and a fallback plan. Pack for the work that funds the journey, then leave enough empty space for the journey itself.