A bad desk audio setup announces itself before you say a word. The listener hears the keyboard, the untreated room, the laptop fan, and the hollow reverb that makes a thoughtful point sound accidental. This creator desk audio setup guide is built for the work that actually happens at a desk: client calls, podcast interviews, short-form video, course recording, voiceovers, livestreams, and the occasional late-night edit.
The goal is not to recreate a commercial studio in a spare bedroom. It is to build a dependable signal path that gets clean speech quickly, stays out of the way of your workflow, and can grow when your output does.
Start With the Room, Not the Microphone
Most creators overspend on the microphone and underthink the space around it. That is backwards. A $300 mic in a reflective room can sound worse than a well-positioned $100 mic in a quieter, more controlled corner.
First, identify the noises you cannot fix in software: traffic, HVAC rumble, a mechanical keyboard, a refrigerator cycling on, or a partner taking calls nearby. Your desk should face into the quietest part of the room when possible. Avoid placing the microphone directly against a bare wall or pointing it toward a large window.
You do not need foam tiles covering every surface. In fact, thin decorative foam usually does little for low-frequency noise and can make a room sound oddly dull. Use what changes the recording: a rug under the desk, curtains over glass, a filled bookshelf, fabric furniture, and a movable thick blanket or acoustic panel behind you. The surface behind the speaker matters because your voice travels past the mic and reflects back into it.
If your room is noisy rather than echoey, treatment will not solve the real problem. Record at a quieter hour, move away from the noise source, or select a microphone that rejects more of the room.
Choose the Right Creator Desk Audio Setup
Your first decision is not which model to buy. It is whether your workflow needs USB simplicity or an XLR system with more control.
USB is the efficient default
A quality USB microphone is the rational choice for most solo creators. It connects directly to a computer, avoids interface settings, takes little desk space, and is fast to troubleshoot before a call. For regular Zoom sessions, screen recordings, tutorials, and social video, a USB dynamic microphone is often the cleanest operational choice.
Look for direct headphone monitoring, a physical gain control, and a mute button you can locate without looking. Those small controls matter when recording is part of your workday instead of a special event. A microphone with USB-C is convenient, but the connector is less important than stable drivers, useful controls, and clear speech at close range.
XLR earns its complexity when the system expands
An XLR microphone requires an audio interface or mixer, an XLR cable, and more setup discipline. In return, it gives you better upgrade paths, more precise gain management, and easier multi-mic recording. It is the right move if you host in-person interviews, expect to add studio monitors, need several audio sources, or simply want a system that can evolve without replacing the core microphone.
The trade-off is real. Every extra box adds a potential failure point: input selection, phantom power, gain staging, USB routing, firmware, and software permissions. If you make one-person videos twice a month, an interface can become expensive desk decor. If you record weekly and charge for your expertise, the control is usually worth it.
Dynamic versus condenser is a room decision
For a typical home office, choose a dynamic microphone first. Dynamic mics reward close speaking and tend to capture less room reflection, keyboard clatter, and distant household noise. They fit creators who work in apartments, shared homes, and multipurpose rooms.
Condenser microphones capture more detail and can sound open and polished in a quiet, treated room. They also capture more of everything else. A condenser is not automatically more professional. It is more revealing. That is useful only when the environment deserves it.
Build a Signal Chain You Can Repeat
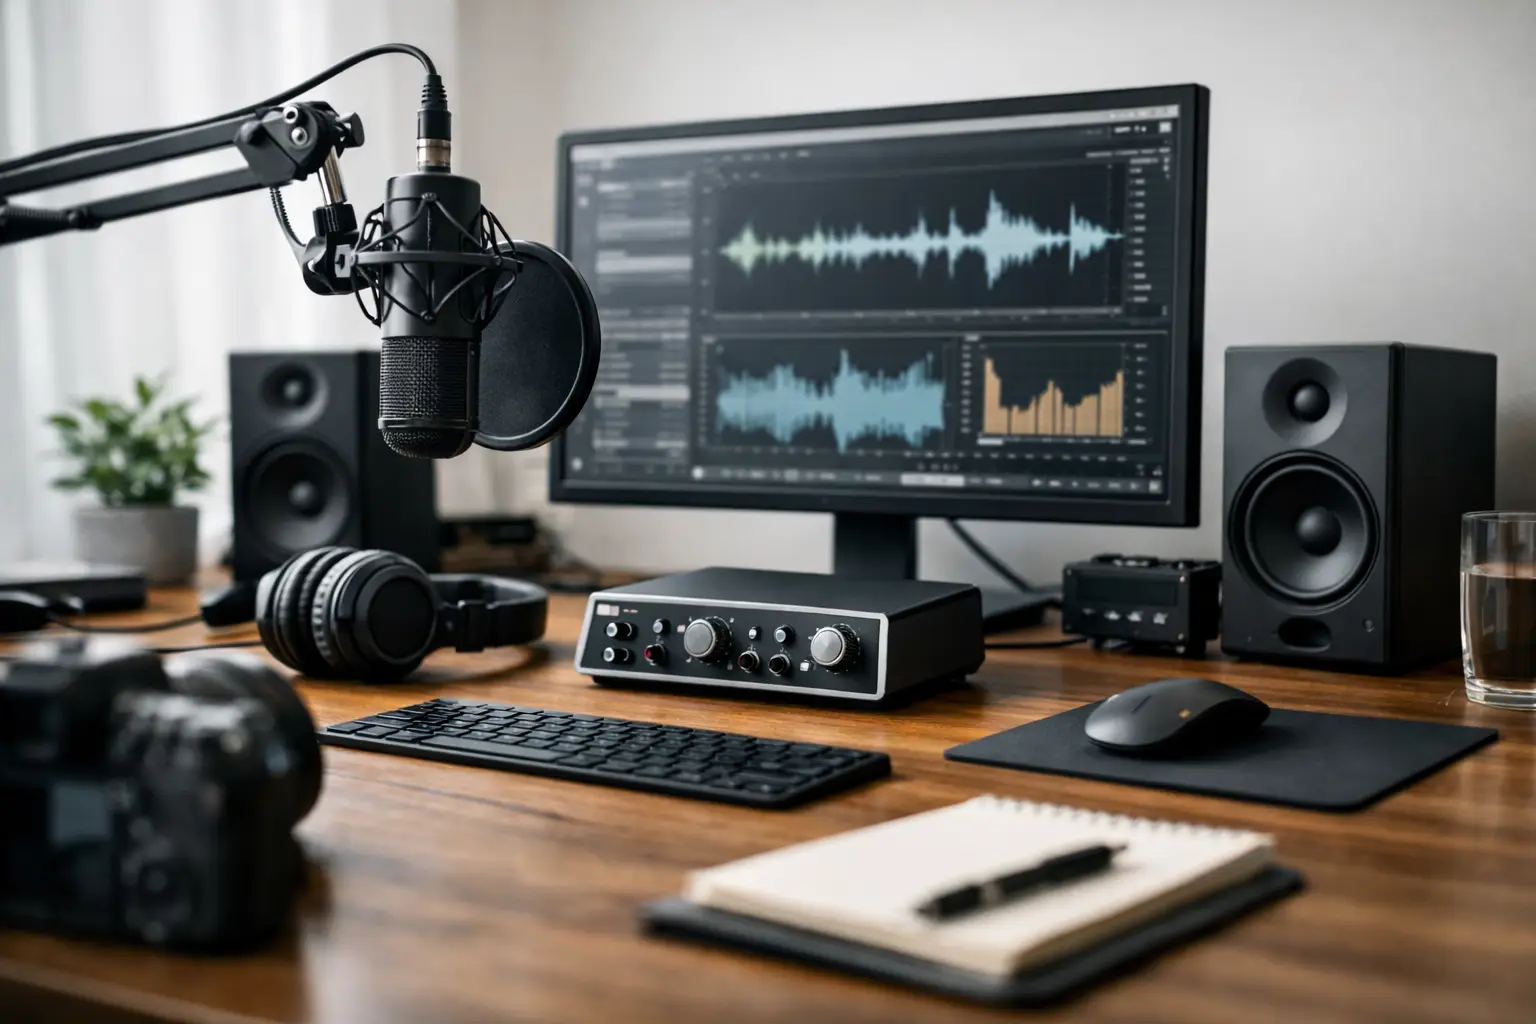
A reliable desk chain is simple: microphone, mount, connection, headphones, recording software. The point is to make each part support the others rather than stacking accessories because they look professional on camera.
Mount the microphone on a boom arm if your desk allows it. The arm creates distance from keyboard vibrations, lets you place the mic close to your mouth, and clears your main work surface. A desk stand is fine for occasional calls, but it often forces the microphone too far away or too low. Then creators turn up gain, which raises room noise along with their voice.
Add a shock mount only when it fits the microphone and your desk transmits vibrations. It is useful if you type heavily, have a standing desk, or bump the tabletop. A pop filter or foam windscreen is usually a better first purchase because plosive bursts from words beginning with P and B can overload an otherwise clean recording.
Use closed-back headphones while setting levels and recording voice. They prevent playback bleed and reveal issues your computer speakers hide. You do not need to wear them for every livestream if they make you perform awkwardly, but you need them during setup. Monitor at a sensible volume. If your own voice sounds painfully loud in the headphones, you will drift away from the microphone or speak unnaturally.
Placement Beats Post-Production
Place the microphone roughly four to six inches from your mouth, slightly off to one side. Speak across the front or top of the mic according to its design, not directly into it. This angle reduces plosives and breath noise while keeping the voice present.
The mic should be close enough that you can lower the gain. That single adjustment separates intentional desk audio from the distant, reverberant sound common in webcam recordings. Aim for normal speech to peak around -12 dB to -6 dB in your recording software. Leave room for a laugh, emphasis, or a louder guest introduction. Digital clipping is harsh and rarely repairable.
Cardioid pickup is generally the right pattern for solo work because it focuses on sound in front of the mic and rejects more from the rear. Still, do not treat the rear of a cardioid microphone as a force field. A loud keyboard six inches away will remain loud.
Before a recording day, make a 30-second test in the exact position you will use. Type a sentence, shift in your chair, speak at normal volume, and pause for silence. Listen back on headphones. This catches the practical failures: a boom arm creak, a cable brushing the desk, an air conditioner that starts five minutes into your session.
Set Software Processing With Restraint
Software cleanup can improve an already good signal. It cannot make a distant microphone sound close, and aggressive processing can make speech sound metallic, chopped, or suspiciously synthetic.
Start with a high-pass filter around 70 to 100 Hz to remove low rumble, then use modest compression to even out volume. A gentle noise gate can help when you pause, but set it carefully. If it cuts off soft words or the start of sentences, it is doing more harm than good.
AI noise removal is valuable for calls and fast-turnaround video, especially when travel or household noise is unavoidable. Use it as insurance, not as permission to record poorly. Heavy removal often creates watery artifacts around consonants and can make a premium microphone sound like a damaged phone call.
Create separate presets for meetings, voiceover, and livestreaming. Meetings benefit from stronger noise control. Voiceovers should sound more natural and usually deserve lighter processing. A livestream preset may need ducking or routing for music and alerts. One universal preset is convenient until it causes a preventable problem.
Organize the Desk Around Audio Access
The best setup is one you will use without negotiation. Keep your microphone within reach, headphones on a hook or stand, and the recording app pinned where you can confirm the input source before starting. If the boom arm blocks a second monitor or camera angle, reposition it now rather than accepting a daily annoyance.
Cable management is not cosmetic here. Route power cables away from audio cables where practical, secure loose runs so they cannot rub against the desk, and leave enough slack for a standing desk to move. Label the interface input and primary USB cable if you regularly connect cameras, chargers, and drives. Fifteen seconds of labeling can save a missed interview.
Treat your audio chain like a small operating system. Keep one known-good configuration, change one variable at a time, and record a quick test after updates or new hardware. The creator who can produce clean sound on demand has an advantage that viewers notice even when they cannot explain why.
Hey, We Did the Heavy Lifting for You.
We spend hours researching products on Amazon, filtering fake reviews, and curating handpicked lists for our readers.
As an Amazon Associate, NawaMag earns from qualifying purchases.