Walk into any kitchen that feels calm at 6:15 p.m. on a slammed service, and you will usually find the same thing behind the scenes: a tight restaurant prep container system guide put into practice, not just discussed in a staff meeting. The difference is rarely talent alone. It is container logic, lid discipline, labeling standards, and a storage map that survives real volume.
Most kitchens do not fail on prep because they lack containers. They fail because they own a random pile of mismatched quart delis, cracked poly pans, three lid styles that do not stack together, and no fixed rules for what goes where. That creates friction everywhere. Cooks spend extra seconds hunting for product, over-portioning because backups are unclear, and tossing food because date labels are inconsistent or unreadable.
Build the restaurant prep container system guide around stations
The smartest way to design a prep container system is not by catalog category. It is by station behavior. Your grill station, garde manger, bakery prep, and bulk walk-in storage do not need the same vessel.
Start by splitting your system into three zones: active line use, short-hold prep, and bulk storage. Active line use needs containers that open fast, stack cleanly, and fit rails or refrigerated drawers without wasted space. Short-hold prep needs visibility and repeatable portioning. Bulk storage needs durability, tight sealing, and clear dating because product may move through several hands before service.
This is where many operators overspend. They buy heavy-duty containers for every use case, then watch cooks abuse them in places where cheaper deli containers would have done the job better. The reverse mistake is just as common. Lightweight containers end up holding hot product, acidic sauces, or repeated wash cycles they were never meant to survive. A good system is mixed by purpose.
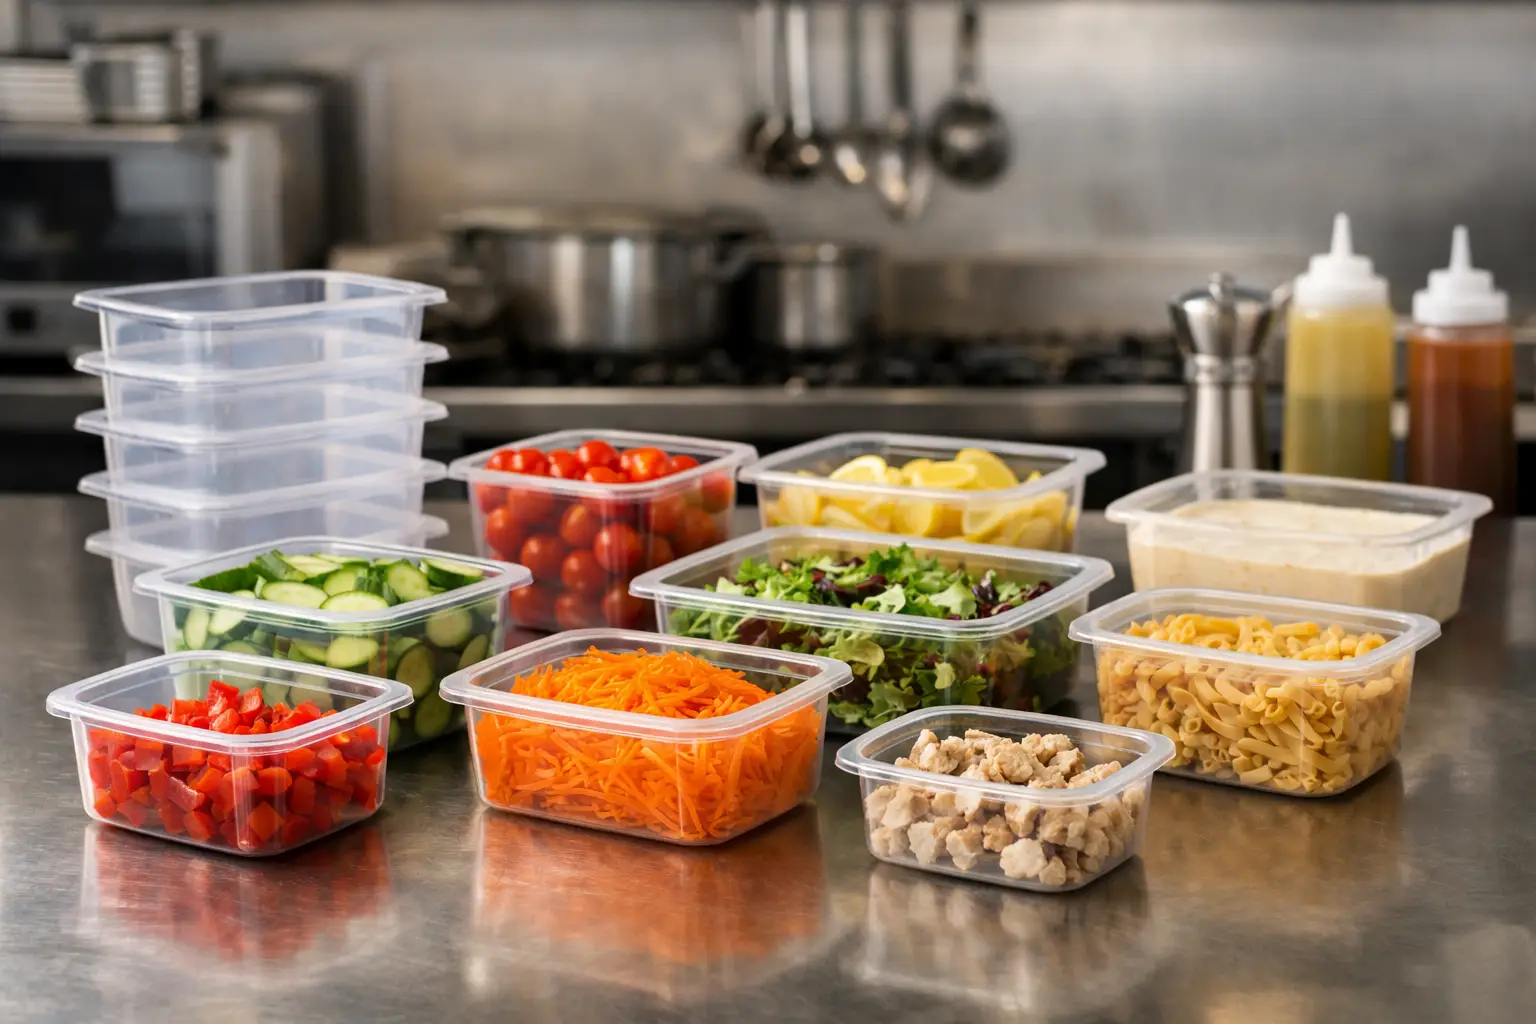
For line mise en place, shallow sixth, ninth, and third pans usually beat deep containers because they reduce digging and improve visual inventory. For batched sauces, dressings, pickles, and pre-portioned proteins, quart and pint deli containers remain hard to beat if the entire kitchen commits to one lid diameter. For bulk vegetables, brines, stocks, or par-cooked items, standardized square storage containers use shelf space better than round ones and make the walk-in look less like a garage sale.
Standardize sizes before you buy more
If your kitchen already owns containers, do not start with a shopping spree. Start with an audit. Lay out every container and every lid. Count by size, material, and condition. The goal is simple: reduce the number of formats staff have to remember.
A lean system usually means picking a small family of sizes and forcing consistency. One deli lid format, one small cold-line pan system, one bulk square system. That does not sound exciting, but it fixes the most expensive problem in prep operations, which is mental drag. Every extra size adds tiny decisions, stacking errors, and replacement headaches.
There is also a sanitation payoff. When staff recognize the correct lid instantly, containers get sealed correctly and faster. When a shelf is designed around fixed dimensions, overfilling and unstable stacking drop. That matters more than people think. Spills in the walk-in are not just messy. They distort inventory, create cross-contamination risk, and turn your opening prep into detective work.
Material choice depends on volume and menu style. Clear polypropylene is practical for cold storage because staff can identify product quickly. Polycarbonate handles abuse better and gives a more premium feel, but it costs more and is not necessary everywhere. Flexible deli containers are cheap and efficient for high-turn items, though they are a poor choice for applications involving heat or repeated heavy stacking. If your kitchen leans hard on hot fill, blast chilling, or freezer rotation, the wrong plastic will become a recurring replacement line on your P&L.
Labeling is part of the container system, not a separate habit
A prep container without a clean labeling rule is just a transparent mystery box. The best systems pair physical containers with a fixed label method that every cook can execute under pressure.
Keep it simple enough to survive a busy Saturday. Product name, prep date, use-by date, and initials are enough in most kitchens. If your menu includes frequent modifiers like vegan, allergen-sensitive, or par-cooked status, add one visual cue such as color-coded tape or station-specific labels. Do not overload labels with information no one reads.
Placement matters. Labels should hit the same side of every container so shelves remain scannable. If tape lands across lids on some containers and across the sidewall on others, staff will waste time rotating items just to identify them. A shelf should read left to right like a dashboard.
This is also where container shape affects labor. Smooth-sided square containers and deli cups label cleanly. Textured exteriors and awkward handles do not. Small design details become operational details once they multiply across hundreds of touches a day.
Match depth and footprint to product behavior
A lot of prep inefficiency comes from putting the right food in the wrong depth. Herbs packed too deep bruise faster. Sauces stored too shallow skin over. Cut citrus in oversized containers dries out because of excess air space. The system works best when container depth matches product turnover and fragility.
Think in terms of movement speed. Fast movers should sit in containers shallow enough to be worked quickly and refilled often. Slow movers usually belong in tighter-sealing vessels with less exposed surface area. Delicate items benefit from wider containers that reduce compression. Dense items like grains, braises, and beans can live in deeper formats without much penalty.
There is no universal best size. A burger concept with limited SKUs can run very efficiently on a narrow set of line pans and back-up cambros. A scratch kitchen with rotating specials may need more flexibility. The point is not minimalism for its own sake. The point is reducing exceptions.
Create a storage map that new hires can follow on day one
Even a strong container setup breaks down when shelves have no logic. Your walk-in and prep shelves need fixed addresses. Proteins should not float from one rack to another depending on who closed last night. Herbs should not be parked behind sauces because someone needed temporary space three days ago.
Map your storage physically and keep that map tied to the container sizes you chose. Bulk containers on lower shelves. Ready-to-use items at eye level. Backups behind active station product, not mixed across zones. Once this is set, train to the map and audit it.
This sounds rigid, but it actually gives kitchens more flexibility during rush periods. When anyone can find feta, pickled onions, or portioned chicken in two seconds, the whole operation becomes more resilient. You are not relying on one veteran prep cook’s memory to hold the system together.
For smaller kitchens, vertical stacking can save the day, but only if the container family was chosen for stable nesting and predictable footprints. Otherwise, you get leaning towers, crushed garnish, and broken lids. Saving shelf space is useful. Sacrificing access speed is not.
The hidden metric is labor, not plastic cost
Operators often compare container systems by unit price alone. That is the wrong lens. The real question is how the system changes labor minutes, waste, and ordering accuracy.
If a standardized container setup cuts thirty seconds from each retrieval, refill, and close-out task, those seconds compound fast. If better visibility reduces over-prepping one pan of slaw, aioli, or roasted vegetables per day, the food cost gain may exceed the price difference between cheap containers and better ones. If a single-lid-format deli system cuts missing lid chaos, dish pit friction drops too.
That said, premium is not always better. Expensive containers make little sense in kitchens with high breakage, frequent loss, or low-margin menus where replacement discipline is weak. In those environments, a simpler disposable-adjacent deli ecosystem may outperform a more elegant but fragile setup. It depends on staff habits, wash capacity, and menu style.
A useful test is this: can your team reset a station, label backups, and restore the walk-in to standard during the last tired hour of the night? If the answer is no, the system is too complicated or the formats are fighting the workflow.
How to upgrade without wrecking service
Do not replace everything at once unless your current setup is truly broken. Phase it in by pain point. Start with the station that loses the most time, usually cold prep or saut support. Standardize those containers, lids, and labels first. Then tackle bulk walk-in storage. Finally, clean up edge cases like dry storage decanting or freezer organization.
During the transition, remove orphan formats aggressively. Half-swapping creates the worst version of both systems. Keep a short exception list for genuinely special use cases, such as dough proofing, fish storage, or allergen-separated mise en place, but make exceptions explicit.
For teams that like operational clarity, write one page of standards and post it where prep actually happens. Include approved sizes, what each one is for, where labels go, and where each category lives. NawaMag readers will recognize this immediately for what it is: SOP thinking applied to plastic and shelf geometry. That is exactly the point. A prep container system is not supply ordering. It is infrastructure.
The kitchens that move fastest are rarely the ones with the most gear. They are the ones where every container answers the same quiet question before a cook has to ask it: what is this, how long is it good, and where does it belong?