A great coffee setup fails at 7:12 a.m. when the grinder is across the kitchen, the scale is buried in a drawer, and yesterday’s grounds are still in the portafilter. Learning how to organize coffee workflow is less about building a café shrine and more about removing those small points of friction that make a good machine feel inconvenient.
The goal is a repeatable sequence: fill, grind, brew, serve, reset. When every tool supports that sequence, coffee becomes faster, cleaner, and more consistent. This matters whether you make one pour-over before work, pull espresso for two people, or run a serious weekend coffee ritual for guests.
Start With the Coffee Workflow, Not the Countertop
Most home coffee stations are organized by appearance. Beans go in a decorative canister, mugs sit where there is open shelving, and the grinder lands wherever an outlet happens to be available. That may look good in a photo, but it creates unnecessary movement during brewing.
Map your actual process before moving a single item. Stand where you make coffee and notice the order of operations. For espresso, the typical sequence is water check, dose, grind, distribute, tamp, brew, steam, serve, knock out, wipe down. For filter coffee, it is usually water, filter, dose, grind, bloom, pour, serve, rinse.
Your station should follow that physical order from left to right or front to back. There is no universal correct layout. A right-handed person may prefer to grind on the right and move toward the machine on the left. A compact apartment kitchen may require a vertical setup that uses a shelf, drawer, and counter in sequence. What matters is that you do not repeatedly cross the kitchen, open multiple cabinets, or move hot equipment just to complete one drink.
Build a Three-Zone Coffee Station
A reliable station separates work into three zones: storage, brewing, and cleanup. Blending all three is the main reason counters become cluttered and routines slow down.
Zone 1: Freshness Storage
Keep coffee beans, filters, and brew-specific accessories within one reach of the grinder. Beans should live in an opaque, airtight container away from heat, direct sun, and the steam released by an espresso machine. The machine top is convenient, but it is not a good long-term home for coffee.
Store only the active bag or canister at the station. Backup bags, alternate roasts, and decaf belong in a cool cabinet or freezer setup, clearly labeled with roast date and opening date. This prevents the common problem of owning five interesting bags while finishing none of them at peak flavor.
Filters, dosing cups, a spare brush, and a small notebook or recipe card can sit in the same drawer. If you change beans often, recording a starting recipe saves time. A label such as “18 grams in, 36 grams out, 28 seconds” is more useful than relying on memory before your first coffee.
Zone 2: The Brew Bench
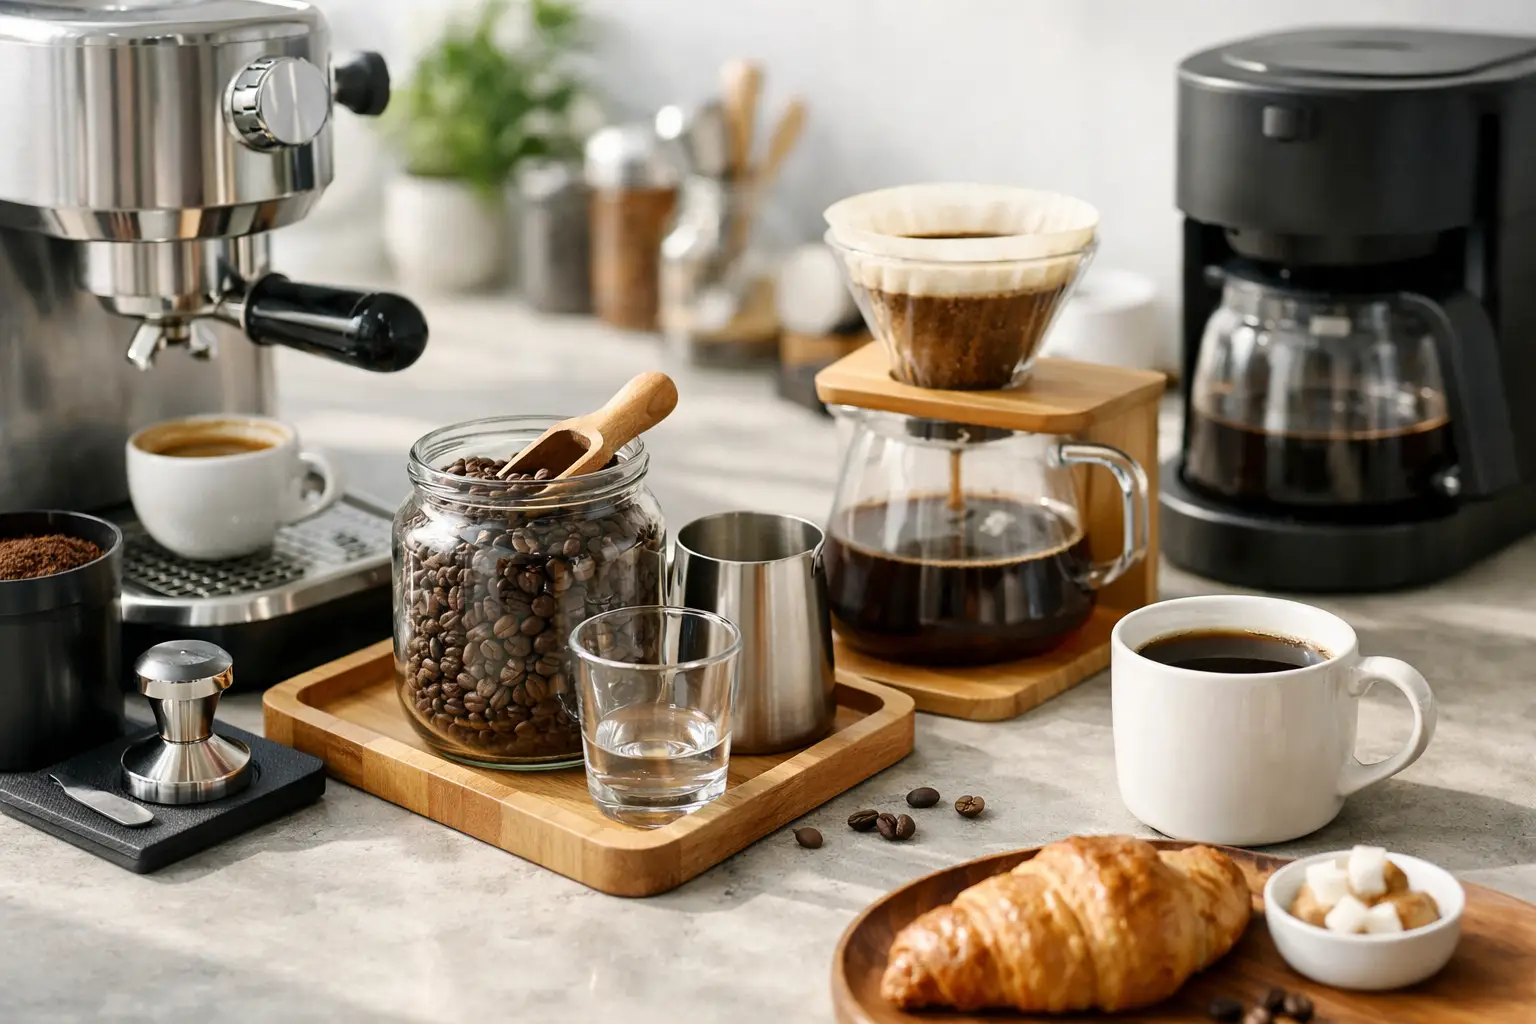
The brew bench is the active surface. It should hold only the gear required for the method you use most often. For espresso, that typically means machine, grinder, scale, tamper, dosing funnel if you use one, and a knock box. For pour-over, it may be grinder, scale, dripper, kettle, server, and a compact tray for filters.
Keep the scale where the cup or server naturally sits during brewing. Do not store it in a drawer if you use it every day. Precision equipment earns counter space when it reduces workflow steps.
Cable management matters more than it seems. A grinder cord running across the counter catches on kettles and complicates cleaning. Use the nearest safe outlet, route excess cable behind the equipment, and avoid crowding power strips near water. A clean power layout makes the station feel intentional instead of temporary.
Leave a small amount of empty counter space beside the main brewing device. This is your landing zone for a hot portafilter, kettle lid, milk pitcher, or finished mug. Without it, every task becomes a balancing act and spills become predictable.
Zone 3: Reset and Cleanup
The cleanup zone should be close enough that resetting the station takes under a minute. Ideally, it includes a sink, towel hook, waste container, and space to air-dry small parts. If your sink is on the other side of the kitchen, create a contained reset kit: a microfiber bar towel, a small brush, a container for spent grounds, and a tray for parts headed to the sink.
Espresso users should keep a dedicated cloth for the steam wand and another for wiping the group area or counter. Reusing one wet, milk-coated towel across the station is a fast route to odor and grime. Filter coffee setups need a place for wet drippers and servers that does not turn the counter into a puddle.
The highest-performing coffee stations are not the ones with the most accessories. They are the ones that look nearly reset immediately after a drink is served.
How to Organize Coffee Workflow Around Time Pressure
A weekday coffee routine and a slow Saturday brew should not be designed the same way. The mistake is forcing one station to serve two different operating modes without deciding which one takes priority.
For weekday speed, pre-stage the repeatable parts the night before. Refill the water reservoir or kettle, confirm bean supply, set out the cup, and return the scale to its marked position. If you use a manual brewer, pre-folding a filter is reasonable. Pre-grinding coffee generally is not, unless convenience matters more than flavor for that specific morning.
For slower brewing, keep experimentation tools nearby but outside the main action path. A refractometer, alternate drippers, extra baskets, and several different mugs can be valuable, but they should not block the daily station. Think of them as a secondary kit, not permanent countertop residents.
Households with multiple coffee drinkers need a shared standard. Decide where clean cups live, who refills water, where decaf belongs, and whether the grinder setting changes. A handwritten note inside a cabinet can prevent daily negotiation. In a small shared kitchen, a workflow rule is often more useful than another piece of gear.
Choose Equipment That Reduces Steps
The best equipment decision is not always the most expensive one. It is the one that removes a recurring problem in your process.
A single-dose grinder can make sense for drinkers who rotate beans and want low retention. A hopper grinder is usually faster for a household committed to one coffee at a time. A plumbed espresso machine removes reservoir refills but adds installation complexity and is difficult to justify in many rentals. A temperature-controlled electric kettle is excellent for filter coffee, yet excessive if your usual morning drink is a simple French press.
Buy for your real volume, available counter depth, electrical capacity, and cleanup tolerance. An impressive setup that takes ten minutes to clean will eventually produce shortcuts. Shortcuts usually show up as stale grounds, skipped scale measurements, and neglected maintenance.
Storage hardware deserves the same scrutiny. A shallow drawer organizer can outperform an expensive countertop rack if it keeps dosing tools clean and accessible. A pull-out shelf is useful for a heavy machine under cabinets, but only if it does not compromise ventilation or make water access awkward. Measure equipment footprint with handles, portafilters, and cabinet clearance included.
Create a Maintenance Rhythm That Protects the Workflow
Coffee workflow breaks down gradually. Grinder grounds accumulate, water reservoirs develop scale, and tools migrate into random drawers. The fix is a maintenance schedule tied to use, not vague good intentions.
After each drink, purge or rinse the relevant brewing surfaces, empty grounds, wipe spills, and return tools to their assigned places. Once a week, clean the grinder exterior and surrounding counter, wash the drip tray or kettle base area, and inspect towels. Every few weeks, clean burrs or backflush an espresso machine according to the manufacturer’s guidance. Descaling depends heavily on local water hardness and machine design, so follow the machine’s schedule rather than treating it as a monthly ritual by default.
Keep cleaning supplies adjacent to the station, but separate from food and coffee storage. If the cleaning tablet or brush lives in a distant utility closet, maintenance becomes a project. If it lives in a labeled bin under the machine, it becomes part of operating the station.
Make the System Visible Enough to Keep
A coffee station should give you visual signals. An empty water bottle should be obvious. Low beans should be obvious. A missing scale should be obvious. Hidden storage can look clean while quietly creating friction.
Use simple visual limits: one active bean canister, one designated tool tray, one towel hook, and one area for clean cups. When an item has no assigned location, it becomes countertop clutter by the end of the week.
The final test is not whether the station photographs well. It is whether you can make a precise coffee while half-awake, then leave the kitchen ready for the next person. Build for that moment, and the better mornings tend to follow.