A bag of coffee can go from syrupy and sweet to sharp, thin, or aggressively bitter because of a movement smaller than a millimeter inside your grinder. That is why learning how to dial espresso grind is less about chasing a magic setting and more about building a controlled workflow. The goal is not to make every shot identical. It is to know which variable to change when a shot tells you something is off.
For an advanced home setup, the grinder is the control center. Your machine supplies stable pressure and temperature, but the grind determines how quickly water moves through the puck. Get that right, and even a modest espresso machine can produce serious coffee. Get it wrong, and premium beans become expensive compost.
Start With a Fixed Espresso Recipe
Do not begin by changing grind size, dose, yield, and temperature at the same time. That is how dial-in sessions turn into vague guesswork. Lock in a starting recipe first, then use grind size as your primary adjustment.
A reliable baseline for a modern medium or medium-dark espresso is a 1:2 brew ratio. Put 18 grams of dry coffee into the basket and aim for 36 grams of espresso in the cup. For many coffees, a sensible opening target is 25 to 32 seconds, measured from the moment the pump starts.
Those numbers are not a quality score. They are a stable launch point. A light-roast coffee may taste better at a longer ratio, such as 18 grams in and 42 grams out. A darker traditional roast may prefer a shorter yield closer to 30 grams. The operational rule remains the same: choose a recipe, record it, and hold it steady while you adjust the grind.
Use a scale that reads to 0.1 gram under the portafilter and cup. This is not fussy café theater. A two-gram difference in yield can materially change the taste and texture of a 36-gram shot. If your data is loose, your decisions will be loose too.
How to Dial Espresso Grind With One Variable at a Time
Set your grinder to a fine espresso range, dose your fixed amount, distribute the grounds evenly, tamp level, and pull a shot to your target yield. Record four things: dose, output, total shot time, and what the espresso tastes like once it has cooled slightly.
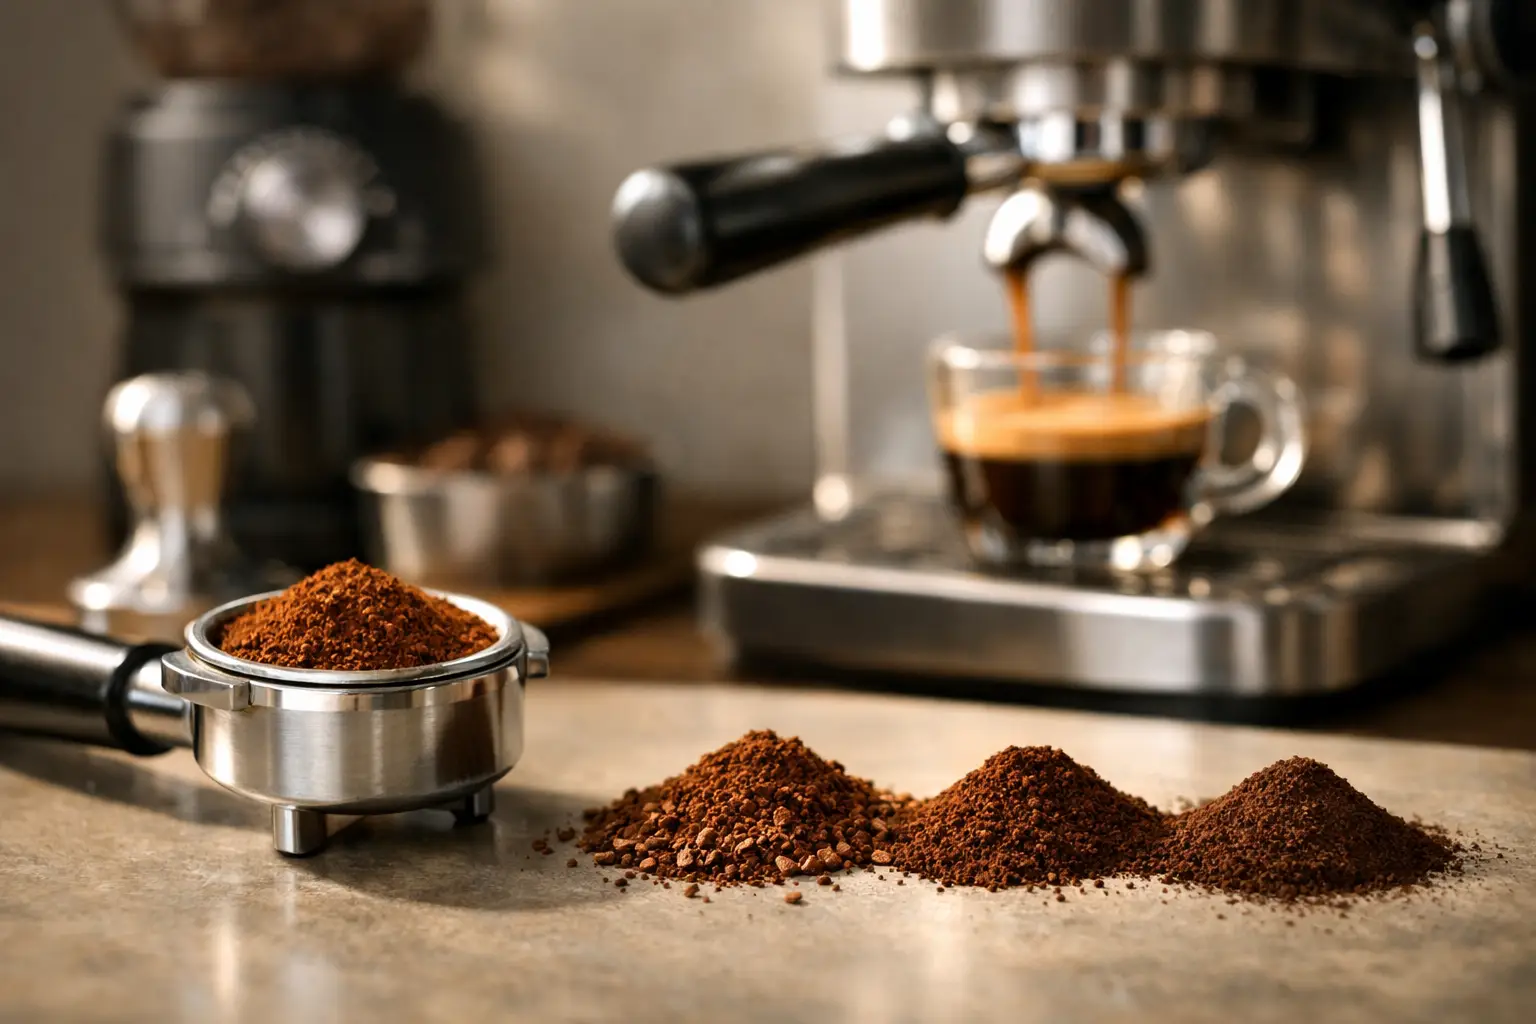
If 18 grams produces 36 grams in 18 seconds, water moved through the puck too quickly. The usual response is to grind finer. Finer particles create more resistance, slowing the flow and increasing extraction.
If the same recipe takes 42 seconds, drips slowly, and tastes dry or harsh, grind coarser. Coarser particles reduce resistance and speed up the shot.
The useful adjustment is usually small. On a stepless grinder, move the collar only a few millimeters. On a stepped grinder, move one click, perhaps two if the shot was dramatically fast or slow. Large moves create a new problem instead of clarifying the old one.
After every grind change, purge a small amount of coffee before dosing. Grinders retain grounds in the chute and burr chamber. If you do not clear them, your next puck contains a mix of old and new settings, and the shot time becomes misleading. With a low-retention single-dose grinder, a brief purge may be enough. With a hopper-fed grinder, retention can be substantial enough to affect multiple shots.
Then pull the next shot with the same dose, yield, puck preparation, and machine routine. This is the core loop: adjust, purge, measure, taste, log. It is repetitive by design. A good dial-in process reduces the temptation to make emotional decisions after one disappointing pull.
Time Is a Diagnostic, Not the Finish Line
A 28-second shot can be excellent, sour, bitter, or merely dull. Time tells you about flow. Taste tells you whether the extraction is useful.
Sourness that feels sharp, salty, or underdeveloped usually points toward underextraction. If the shot also ran fast, grind finer. If it ran near your target time but still tastes underextracted, the coffee may need a higher yield, a slightly higher temperature, or a longer pre-infusion. Grind is powerful, but it is not the only lever.
Bitterness can be more complicated. A long, slow shot that tastes woody, drying, or ashy often needs a coarser grind. But dark roasts naturally carry roast bitterness, especially when brewed at a high temperature. In that case, changing the ratio or lowering brew temperature can work better than continuing to grind coarser until the body disappears.
A balanced shot should have recognizable sweetness, a clear finish, and enough texture to suit the coffee. It does not need to be fruit-forward or bright to be correct. The right target depends on the roast style, your milk-drink routine, and the cup profile you actually enjoy.
Build a Puck Prep System Before Blaming the Grinder
Grind adjustments only work when puck preparation is repeatable. Espresso is unforgiving of uneven density. A channel through one weak section of the puck lets water race past coffee while the rest overextracts. The resulting shot can run slowly yet taste both sour and bitter, which sends many home baristas toward the wrong correction.
A practical workflow is simple: dose accurately, break up clumps if your grinder produces them, distribute the bed evenly, and tamp once with consistent pressure. A needle-style distribution tool can help with clumpy or static-heavy grounds, especially on smaller conical burr grinders. It is not mandatory equipment, but it can make the workflow more repeatable.
Do not obsess over tamp pressure. Once the puck is compressed evenly, pressing harder usually does not make the shot slower. A level tamp matters more than an ultra-forceful one. The grinder setting, dose, and basket capacity have far greater influence on flow.
Also verify that your basket is properly filled. An 18-gram basket may perform poorly with 21 grams of coffee or with 15 grams that leaves excessive headspace. Check the basket manufacturer’s range, then stay close to it during dial-in. Changing dose can be a strategic tool later, but it should not be your first reaction to every bad shot.
Know When Grind Size Is Not the Problem
If you move the grinder finer and the shot still gushes, inspect the system. Stale beans, an underfilled basket, weak puck preparation, and a badly worn grinder can all produce fast shots. Beans more than a month past roast often lose carbon dioxide and behave differently, making them harder to slow down and less expressive in the cup.
If your grinder is already near its finest setting and the espresso still runs too fast, it may need calibration. Many grinders allow the burrs to be moved closer at the internal adjustment point. This is common after burr seasoning, cleaning, or changes in ambient conditions. Follow the grinder’s specific procedure, and never force burrs to touch while the motor is off.
Humidity matters too. Coffee can flow slower on a humid morning and faster during a dry, heated winter week. You do not need to redesign your recipe every day, but a small grind correction is normal. Treat the grinder setting as a living operational setting, not a permanent number written on a bag clip.
Use a Dial-In Log That Saves Coffee
A simple note on your phone is enough. Record the coffee name, roast date, dose, yield, time, grinder setting, and a short sensory note. Write something specific: “fast, lemony, thin” is useful. “Bad” is not.
After a few bags, patterns emerge. You may find that a particular light roast works at a 1:2.4 ratio, while your preferred milk espresso tastes best with a shorter 1:1.7 recipe. You will also learn how much your grinder shifts between coffees, which makes future setup faster.
For milk drinks, taste a small spoonful of straight espresso before steaming milk. The espresso should be slightly more concentrated and assertive than what you would serve alone, because milk softens acidity and dilutes intensity. That may justify a shorter yield or a slightly finer grind, but only after you have established a clean baseline.
The best espresso workflow is not the one with the most accessories or the most complicated chart. It is the one that lets you identify a problem, make one deliberate correction, and get back to a coffee you want to drink. Once that loop becomes routine, dialing in stops feeling like trial and error and starts feeling like operating a well-tuned kitchen system.