Your neck is not supposed to hold your head at a forward angle for eight hours because your monitor sits three inches too low. Yet that is the default setup on countless desks, especially when a laptop, a large external display, and a camera compete for the same small footprint. Learning how to adjust monitor height is less about chasing a single ergonomic rule and more about setting up a viewing position your body can sustain through real work.
A good monitor position reduces the small, repeated compromises that create fatigue: chin tilt, raised shoulders, squinting, and the unconscious lean toward the screen during a dense spreadsheet or late-afternoon editing session. The target is simple. Put the screen where your eyes, neck, hands, and workflow can all operate without one part compensating for another.
How to Adjust Monitor Height for Your Body
Start with your seated position, not the monitor. Sit back in your chair with your feet supported, hips roughly level with or slightly higher than your knees, and your lower back supported. Let your shoulders drop naturally. This is the posture the monitor needs to serve.
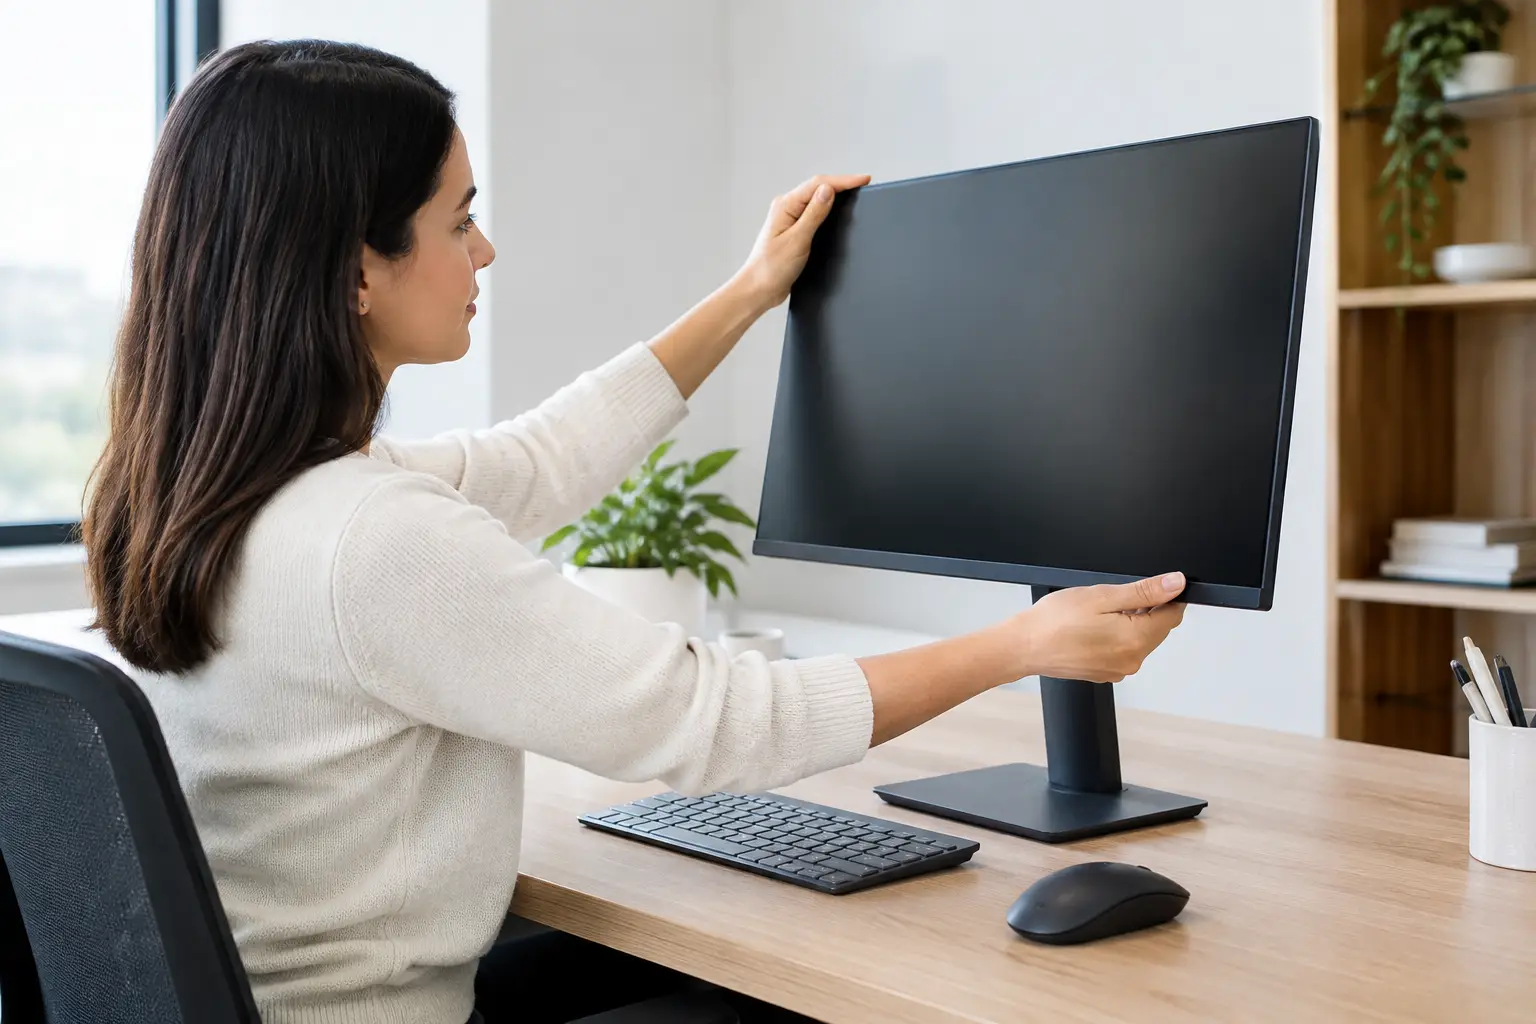
For most people, the top edge of the display should sit at or slightly below eye level. When you look at the center of the screen, your gaze should angle gently downward, usually around 10 to 20 degrees. That downward angle matters. It lets the neck remain neutral while giving your eyelids slightly more coverage, which can help reduce eye dryness during long screen sessions.
Do not treat the top-edge guideline as a rigid law. If you wear progressive lenses, bifocals, or reading glasses, a lower monitor is often better. A screen placed too high can force you to tip your head backward to find the correct lens zone. For many progressive-lens users, placing the top of the screen several inches below eye level is the smarter adjustment.
Distance changes the equation too. A 24-inch monitor generally works well at roughly an arm’s length away. Larger 32-inch displays may need more distance, particularly at high resolution. If your screen is too close, you will lean back or turn your head to scan it. If it is too far away, you will crane forward or increase text size until the interface becomes inefficient. Height, distance, and font scaling are a three-part system.
Run a Fast Desk Test Before Buying Hardware
Before ordering a monitor arm or riser, test your current setup. Sit in your normal working posture and look straight ahead. Where your gaze lands is your practical eye line. Compare that point with the top third of your screen.
Then check your neck after 20 minutes of focused work, not just during a five-second posture check. If you repeatedly look down, the monitor is likely too low. If you find yourself lifting your chin, it is too high. If one shoulder rises while you type, the issue may be keyboard or chair height rather than the display.
Use this short diagnostic sequence:
- Your eyes should reach the screen without lifting your chin or dropping your head.
- Your shoulders should stay relaxed while your hands rest on the keyboard.
- The screen should be far enough away that you do not lean forward to read ordinary body text.
- Glare should not force you to tilt the display or shift your head sideways.
That final point gets missed. A technically correct monitor height is still wrong if a window, overhead light, or glossy screen produces glare. Fix the light source first when possible. Tilting the monitor slightly backward can help, but aggressive tilting often creates reflections and changes the effective viewing angle.
Choose the Right Adjustment Method
The best hardware depends on your desk, display weight, and how often you change positions. The cheapest workable option is often a stable monitor riser. It is ideal for a fixed seated setup and works well when you only need two to five inches of lift. A solid wood, metal, or purpose-built riser is better than an unstable stack of books, especially with a heavy display.
A monitor arm is the more flexible system. It clears desk space, makes fine height adjustments easy, and lets you pull the display closer for detailed work or push it back when you need paper space. Check three specifications before buying: VESA compatibility, the arm’s supported weight range, and the depth of its clamp or grommet mount. Ultra-wide and curved monitors can be within the listed weight limit yet still create leverage problems if the arm is poorly matched.
A monitor stand with an integrated height-adjustable column is the cleanest option for shared desks or offices where several people use the same screen. It is less visually minimal than an arm but usually faster to adjust and harder to misconfigure.
Laptop users need a separate strategy. Raising a laptop to eye level is good for the neck but bad for typing if you continue using its attached keyboard. The correct system is a laptop stand plus an external keyboard and mouse. Raise the laptop so the upper portion of its screen aligns with your eye line, then place the external keyboard at a height that keeps your elbows near a comfortable 90-degree bend. This is one of the highest-return upgrades for hybrid workers who move between home, office, and travel setups.
Dual Monitors Need a Different Layout
Two screens create a common ergonomic mistake: placing both displays flat and equal, then spending the day twisting the neck toward the screen that receives most of the work. Your primary monitor should sit directly in front of you. The secondary screen should be close beside it, angled inward like a shallow V.
If both displays receive equal use, center the gap between them in front of your body and angle each screen inward. Keep their top edges aligned where possible, but do not force alignment if the monitors have different sizes or stands. The more valuable goal is keeping frequently read content in a similar visual zone.
For a vertical secondary monitor, lower it slightly if the top of the display would otherwise sit well above eye level. Tall screens tempt people to scan with neck movement rather than eye movement. Use the upper region for low-priority tools such as chat, music controls, or reference material, and keep demanding work closer to center screen height.
Standing Desk Adjustments Are Not a Simple Copy-Paste
A standing desk changes your eye level and elbow position, so the monitor must move with the desk or be adjusted separately. If the monitor stays on the desktop, it will usually rise with the work surface. That is convenient, but it does not guarantee correct height because your standing posture may differ from your seated posture.
Set the keyboard height first. Your elbows should remain relaxed at your sides, not lifted toward the desktop. Then adjust the monitor so the top third of the screen is around eye level. Many people stand taller and more upright than they sit, which means a setup that works while seated can become too low while standing.
Avoid the fantasy that standing all day is automatically superior. Alternating positions is more practical. A monitor arm with a generous vertical range, or a display mounted to a desk that rises smoothly, makes these changes fast enough that you will actually use them.
Fine-Tune for the Work You Actually Do
Ergonomics is not a showroom photo. A video editor may need a larger, closer display to judge a timeline and color detail. A financial analyst may want multiple monitors with a central primary screen. A writer working mostly in a single document may benefit from one centered display and more empty desk space.
Text size is part of monitor height management. If you keep leaning forward despite correct distance and height, increase system scaling or application zoom before moving the screen closer. A 4K display running tiny text can produce bad posture even in an otherwise excellent setup.
Recheck the setup whenever you replace a chair, change shoes, add a desk mat, switch monitors, or move from a laptop-only workflow to an external display. Those small changes alter the geometry. The goal is not a perfect static posture. It is a desk system that makes the neutral choice the easy choice, even when the workday gets busy.