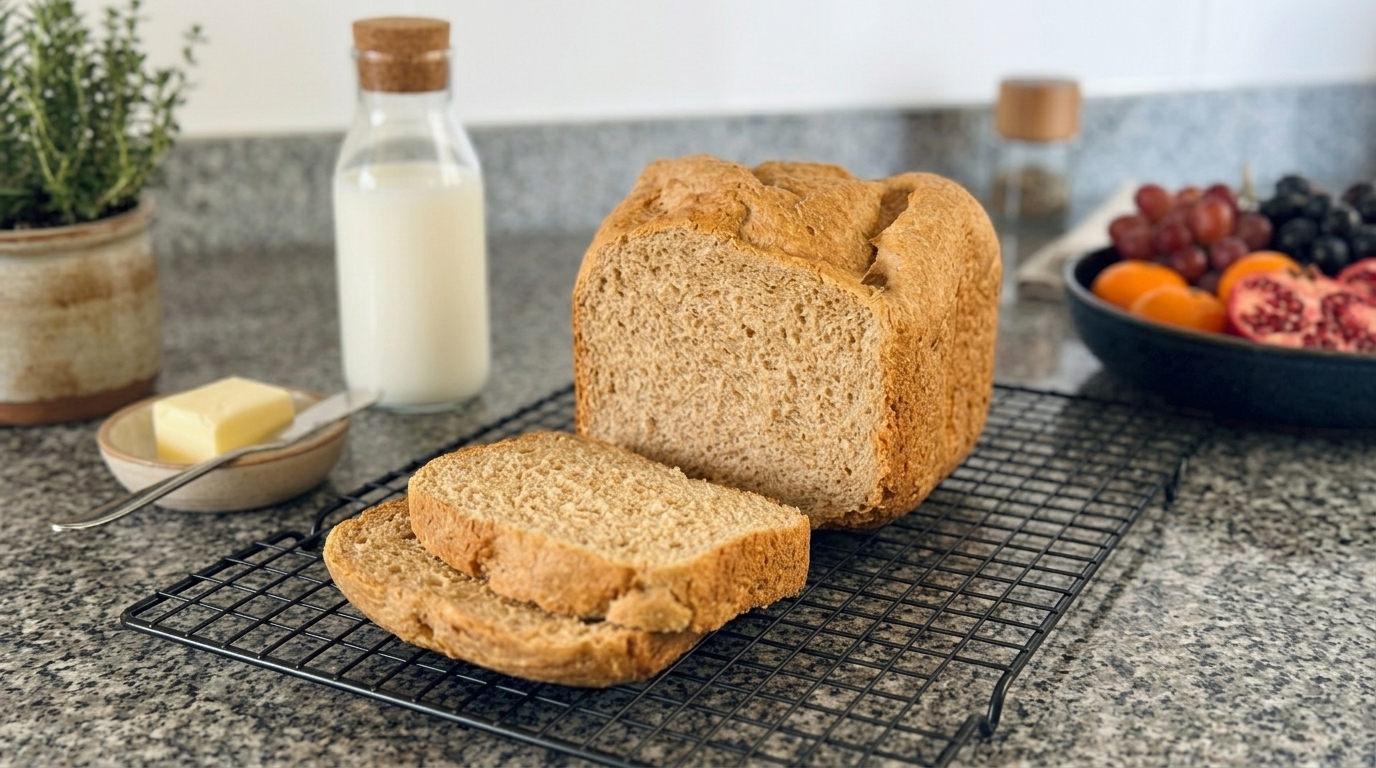
As a professional chef, there was a time I would have shuddered at the mere thought of using a bread machine. In culinary school, you’re taught that great bread requires hours of manual kneading, precise bench resting, and constant vigil over a blistering oven.
But let’s talk reality.
Life demands balance. We want to eat as many scratch-made, real foods as possible, but we don’t have three hours to spare every time we want a sandwich. Getting the right tools isn’t cheating—it’s smart cooking. Enter our absolute workhorse:
🛒 Our Kitchen Hero: Cuisinart Bread Maker — The exact model we use daily to get artisan-quality crusts on autopilot!
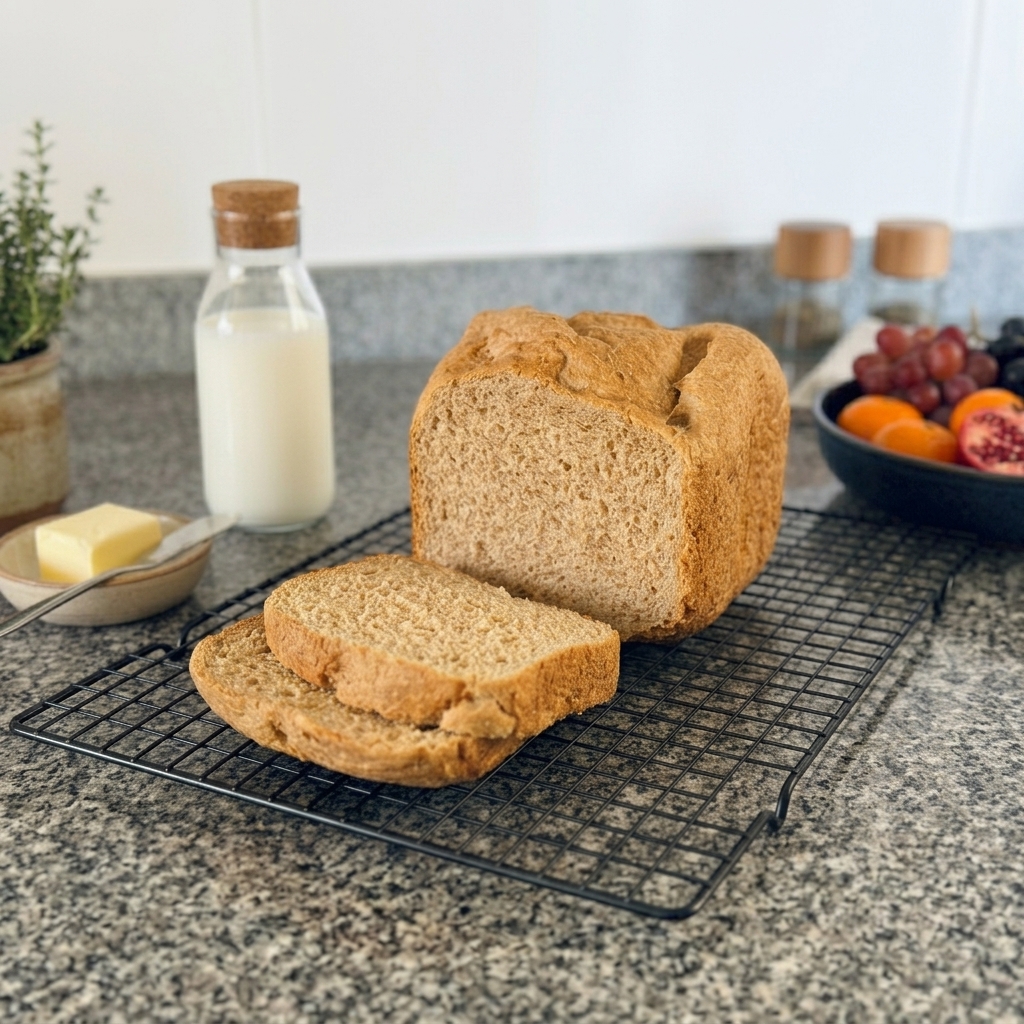
This recipe is our household “Daily Driver.” It combines whole wheat, semolina, and all-purpose flour for a slice that’s sturdy enough for loaded lunch sandwiches, yet light enough to slice thick, toast up crispy, slather with butter, and drizzle with local honey.
Why You’ll Love This Recipe
5-Minute Prep: Measure, dump, set, and walk away.
Structural Perfection: The addition of semolina gives the crumb a tight, firm structure—no more flimsy slices collapsing under sandwich toppings!
Golden & Fully Baked: Optimized settings ensure you never end up with a gummy, undercooked center.
Equipment Needed
Getting the right tools and equipment is paramount to get optimal results. These are the ones we use; we’ve added some Amazon affiliate links so you can check them out.
Bread Machine: We strongly recommend the Cuisinart Bread Maker for its reliable bake times and uniform crust control.
Digital Kitchen Scale: When making bread, it’s best to use precise measurements. Once you realize the convenience of a kitchen scale, you won’t want to go back.
- Bread knife: We always use a long serrated knife to get nice and even slices.
Chef’s Serving Suggestion
Our favorite way to enjoy this loaf? Slice it while fresh, pop it into the toaster until golden brown, spread a thick layer of unsalted butter, and top with a generous drizzle of raw wildflower honey.
Ingredients
Method
- Program: WHITE BREAD
- Loaf Size: 1.5 lb
- Crust Color: DARK (Crucial step: The dark setting adds extra baking time to guarantee a perfectly cooked interior without any dampness).
- Add the Liquids: Pour the warm milk, melted butter, and honey directly into the baking pan of your [Cuisinart Bread Maker].
- Add the Salt: Sprinkle the salt into the liquid base.
- Layer the Flours: Gently add the whole wheat flour, semolina, and all-purpose flour on top of the liquid layer, leveling it out.
- Add the Yeast: Make a small, shallow indentation in the center of the dry flour (do not let it reach the liquid yet) and add the instant dry yeast
- Set and Start: Insert the pan into your Cuisinart machine, select the WHITE program, choose the 1.5 lb size, and set the crust to DARK. Hit start!
- Cool and Slice: Once the cycle completes, carefully remove the loaf from the pan and let it cool completely on a wire rack before slicing to set the crumb properly.
Notes
1. Liquid Temperature is Everything
- Aim for that 35°C–40°C (95°F–104°F) sweet spot for the milk. If it's too cold, the dough won't rise fully; if it's over 45°C (113°F), you risk killing or weakening the yeast.
- Quick fix: Warm the milk slightly in short microwave bursts before mixing in the butter and honey.
2. The 5-Minute “Dough Ball Check”
Even though the bread machine is set-and-forget, take 5 seconds to open the lid about 5 to 10 minutes into the mixing cycle:- What you want: A smooth, tacky ball that cleaves cleanly off the sides of the pan.
- If it looks too sticky or wet: Add 1 teaspoon of all-purpose flour at a time.
- If it looks dry or shaggy: Add 1 teaspoon of warm milk or water at a time.
3. Cool Completely Before Slicing (Crucial for the Crumb!)
- As tempting as warm, fresh bread is, cutting into a loaf fresh out of the machine lets the trapped steam escape too fast, which can cause the crumb to collapse and feel gummy.
- Let the loaf sit on a wire cooling rack for at least 45–60 minutes so the starch structure sets and yields clean, sturdy sandwich slices.
4. Remove the Paddle Early (Optional Pro Tip)
- If you want to avoid that large hole at the bottom of your loaf, remove the kneading paddle right before the final rise cycle begins (usually after the last punch-down).
- Just wet your hands, gently lift the dough, slide the paddle off the shaft, shape the dough back into a neat loaf, and lay it back down.
5. Storing Scratch-Made Bread
Because this recipe uses real honey and butter with zero commercial preservatives:- Days 1–2: Store cut-side down on a wooden cutting board or in a paper bag at room temperature for the crispiest crust.
- Days 3+: Slice the entire loaf and store it in an airtight container or zip-top bag in the freezer. Pop frozen slices straight into the toaster—they'll taste like they were baked that morning!