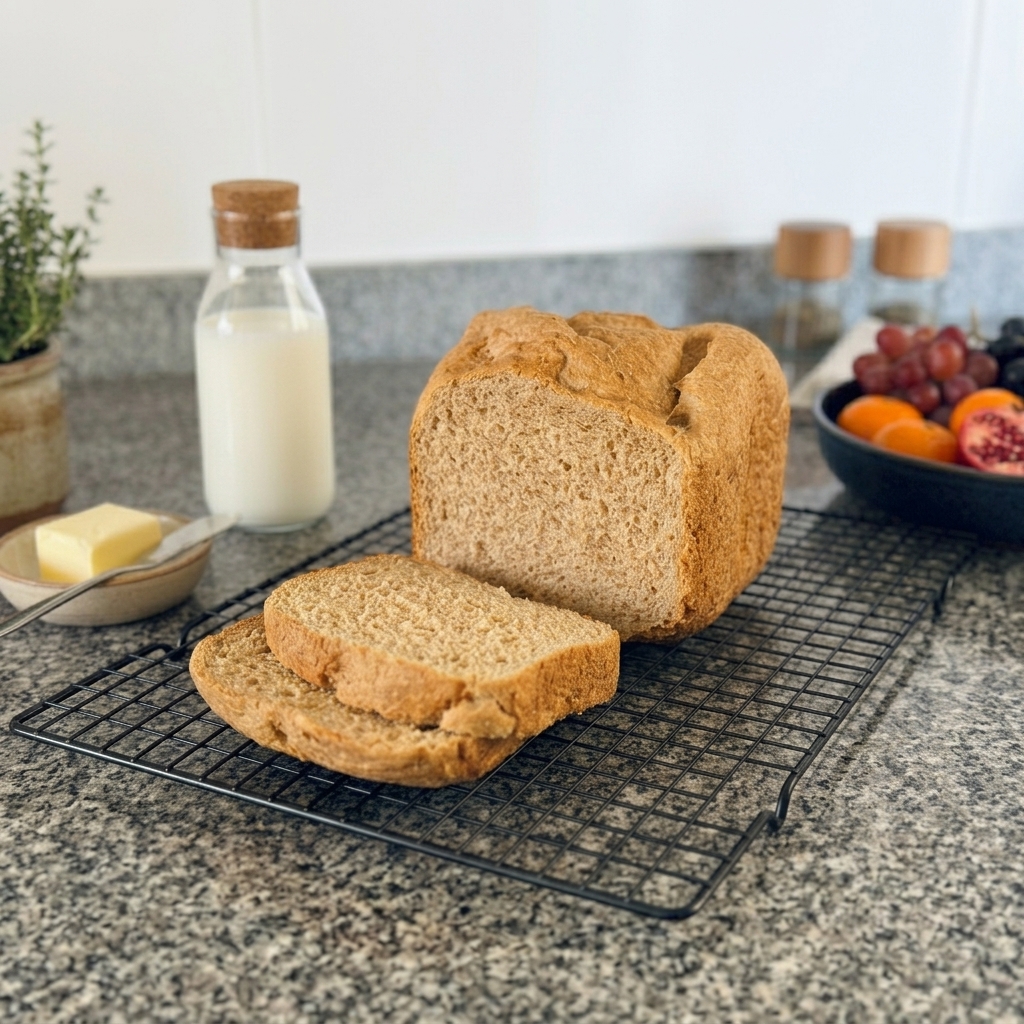
Ingredients
Method
Machine Settings (Cuisinart)
- Program: WHITE BREAD
- Loaf Size: 1.5 lb
- Crust Color: DARK (Crucial step: The dark setting adds extra baking time to guarantee a perfectly cooked interior without any dampness).
Step-by-Step Instructions
- Add the Liquids: Pour the warm milk, melted butter, and honey directly into the baking pan of your [Cuisinart Bread Maker].
- Add the Salt: Sprinkle the salt into the liquid base.
- Layer the Flours: Gently add the whole wheat flour, semolina, and all-purpose flour on top of the liquid layer, leveling it out.
- Add the Yeast: Make a small, shallow indentation in the center of the dry flour (do not let it reach the liquid yet) and add the instant dry yeast
- Set and Start: Insert the pan into your Cuisinart machine, select the WHITE program, choose the 1.5 lb size, and set the crust to DARK. Hit start!
- Cool and Slice: Once the cycle completes, carefully remove the loaf from the pan and let it cool completely on a wire rack before slicing to set the crumb properly.
Notes
Here are a few chef tips to ensure this loaf turns out perfectly every single time:
1. Liquid Temperature is Everything
- Aim for that 35°C–40°C (95°F–104°F) sweet spot for the milk. If it's too cold, the dough won't rise fully; if it's over 45°C (113°F), you risk killing or weakening the yeast.
- Quick fix: Warm the milk slightly in short microwave bursts before mixing in the butter and honey.
2. The 5-Minute "Dough Ball Check"
Even though the bread machine is set-and-forget, take 5 seconds to open the lid about 5 to 10 minutes into the mixing cycle:- What you want: A smooth, tacky ball that cleaves cleanly off the sides of the pan.
- If it looks too sticky or wet: Add 1 teaspoon of all-purpose flour at a time.
- If it looks dry or shaggy: Add 1 teaspoon of warm milk or water at a time.
3. Cool Completely Before Slicing (Crucial for the Crumb!)
- As tempting as warm, fresh bread is, cutting into a loaf fresh out of the machine lets the trapped steam escape too fast, which can cause the crumb to collapse and feel gummy.
- Let the loaf sit on a wire cooling rack for at least 45–60 minutes so the starch structure sets and yields clean, sturdy sandwich slices.
4. Remove the Paddle Early (Optional Pro Tip)
- If you want to avoid that large hole at the bottom of your loaf, remove the kneading paddle right before the final rise cycle begins (usually after the last punch-down).
- Just wet your hands, gently lift the dough, slide the paddle off the shaft, shape the dough back into a neat loaf, and lay it back down.
5. Storing Scratch-Made Bread
Because this recipe uses real honey and butter with zero commercial preservatives:- Days 1–2: Store cut-side down on a wooden cutting board or in a paper bag at room temperature for the crispiest crust.
- Days 3+: Slice the entire loaf and store it in an airtight container or zip-top bag in the freezer. Pop frozen slices straight into the toaster—they'll taste like they were baked that morning!