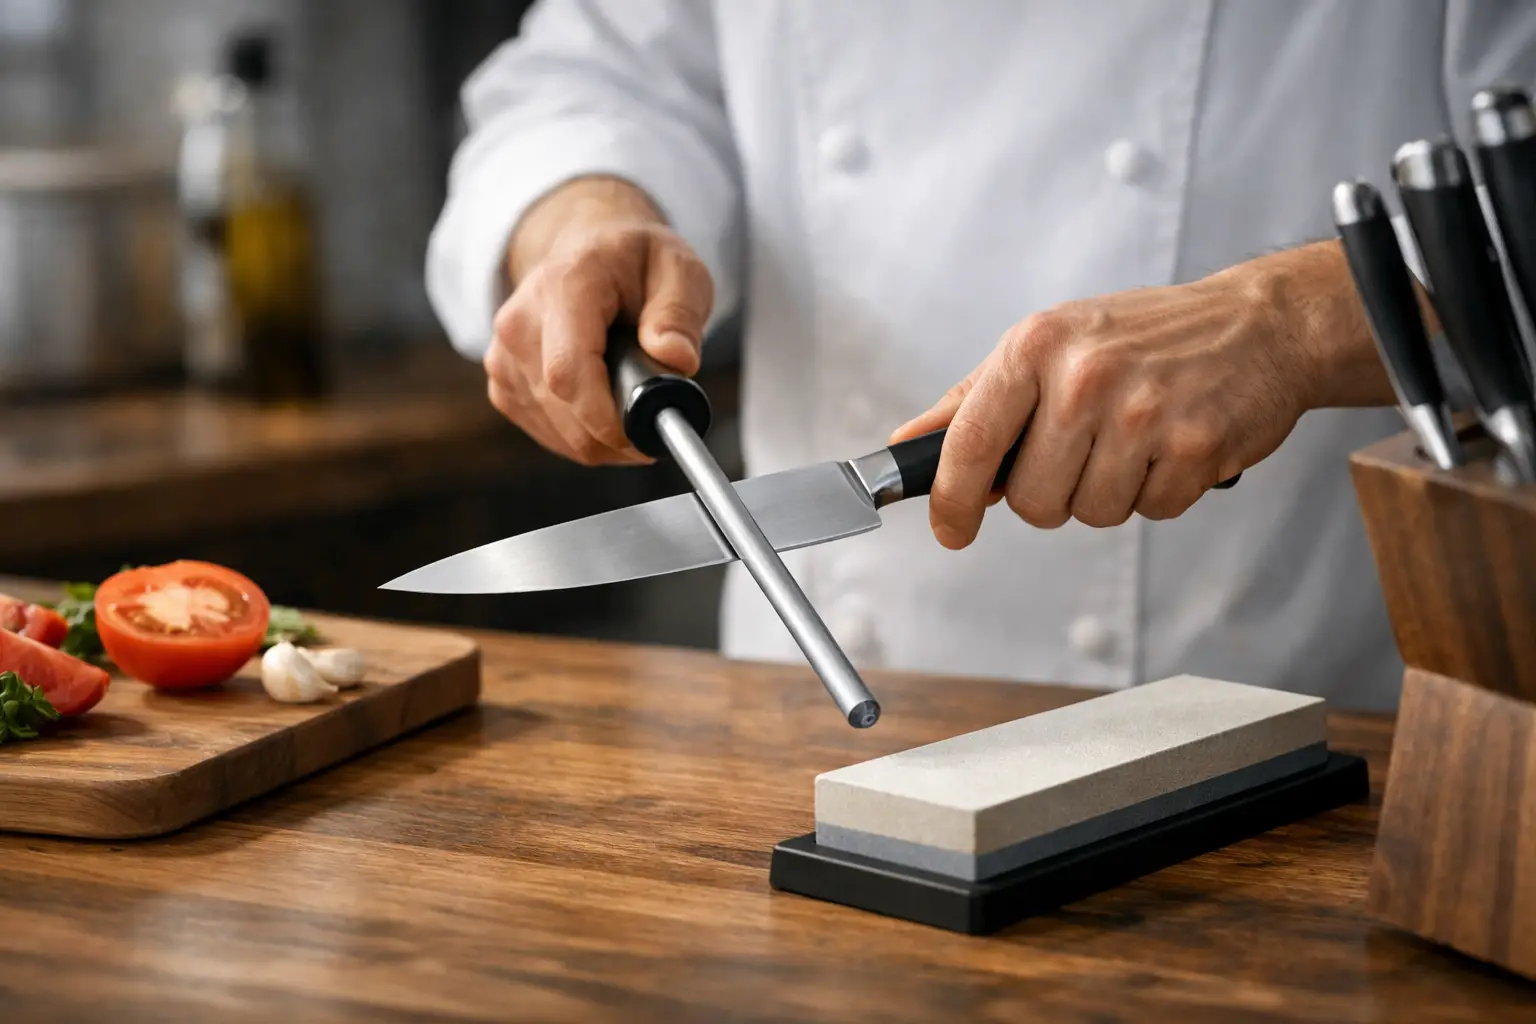
A chef knife that slides off a tomato is not asking for more pressure. It is asking for a reset. Most home cooks respond by buying another knife, dragging the old one through a pull-through sharpener, or working harder at the cutting board. All three are expensive ways to avoid the real issue: edge maintenance is a system.
Learning how to sharpen chef knives gives you more control over prep speed, knife safety, and the useful life of equipment you already own. The best approach is not the fastest gadget on a retail shelf. It is a repeatable workflow: assess the edge, choose the right abrasive, hold a consistent angle, raise and remove a burr, then maintain the result without grinding away unnecessary steel.
Start by diagnosing the edge
Not every underperforming knife needs sharpening. A knife can feel dull because its thin cutting edge has rolled slightly to one side. Honing can realign that edge. Sharpening removes metal to create a new one.
Use a simple paper test before pulling out a stone. Hold a sheet of printer paper by one corner and slice downward through it. A sharp knife should cut cleanly with little snagging. If it cuts in some areas but catches in others, the edge is likely rolled or uneven. Try honing first. If it still tears paper, slips on tomato skin, or has visible chips, it needs sharpening.
This distinction matters. Over-sharpening is a quiet way to shorten the life of a good knife. A quality chef knife can last decades, but every aggressive sharpening session removes material from the blade.
Build a sharpening station that stays stable
Sharpening is a precision task, not a test of arm strength. The surface and setup affect results as much as the stone itself. Work on a counter at a comfortable height with bright overhead light. Put a damp kitchen towel under the stone holder or base so nothing moves during a stroke.
A practical home setup has four parts:
- A coarse-to-medium stone around 800 to 1,000 grit for genuinely dull edges and minor chips.
- A finer stone around 3,000 to 6,000 grit for refining the edge after the initial work.
- A flattening plate or flattening stone to keep water stones level.
- A ceramic honing rod or smooth steel for maintenance between sharpening sessions.
For most advanced home cooks, a quality 1,000-grit stone and a 4,000– or 6,000-grit finishing stone are more useful than a drawer full of novelty sharpeners. Diamond plates cut quickly and stay flat, making them efficient for hard stainless steels. Water stones provide excellent feedback and can produce a refined edge, but they wear into a hollow and need periodic flattening.
Check the manufacturer’s instructions before adding water. Traditional soaking stones need a soak, while splash-and-go stones should only be wetted on the surface. Soaking a stone that was not designed for it can cause cracking or weaken its bond.
How to sharpen chef knives on a whetstone
The central skill is angle control. Most Western-style chef knives perform well around 18 to 20 degrees per side. Many thinner Japanese-style chef knives are sharpened closer to 12 to 15 degrees per side. A lower angle cuts more aggressively but leaves a finer, more delicate edge. A slightly wider angle trades a little slicing performance for durability.
If you do not know the knife’s factory angle, do not chase theoretical perfection. Pick a sensible angle based on the knife’s style and hold it consistently. A useful visual reference is to place the blade flat on the stone, lift the spine halfway to 90 degrees for roughly 45 degrees, halve that to about 22 degrees, then lower it slightly for a typical Western knife edge.
Work one side until you raise a burr
Start with the coarse or medium stone. Wet it as required, place the heel of the blade near the bottom of the stone, and set your chosen angle. With light pressure from the fingers of your free hand near the edge, push the knife forward and across the stone so the entire edge travels from heel to tip. The motion should resemble slicing a thin layer from the stone.
For a curved chef knife, do not hold the blade rigidly in one position. As you approach the tip, slightly lift the handle so the curve of the edge stays in contact with the abrasive. Keep the angle steady. The goal is to sharpen the full edge, not just the broad middle section.
Repeat on one side until you can feel a burr along the opposite side. A burr is a tiny fold of metal created when the abrasive reaches the very apex of the edge. Run your thumb gently from the spine toward the edge, never along it. You should feel a subtle roughness or catch from heel to tip.
The burr is your quality-control signal. Without it, you may be polishing the shoulder of the edge rather than reaching the cutting point. Do not count strokes as your main metric. A thin, regularly maintained knife may form a burr in a few passes. A neglected German-style knife may take much longer.
Repeat on the second side, then refine
Flip the knife and repeat until the burr moves back to the first side. At this stage, the knife is technically sharp but the edge can still be rough and fragile. Move to the finer stone and use the same angle with lighter pressure.
Use alternating strokes on the finishing stone: one pass per side, then repeat. Reduce pressure as you go. Think of the final passes as guiding the blade rather than pressing it into the stone. This refines the scratch pattern and begins to minimize the burr.
A common mistake is treating the fine stone as a rescue tool. Fine grit improves an edge that has already been properly shaped. It will not efficiently fix a rounded, dull edge. When the knife cannot raise a burr on a medium stone, step back to a coarser abrasive instead of spending twenty minutes polishing failure.
Burr removal is where sharpness becomes reliable
Many knives leave a stone feeling sharp, then go dull after a single dinner prep. The usual reason is a leftover burr. It can slice paper for a moment, then fold over during the first contact with a cutting board.
After alternating passes on the finishing stone, make several extremely light edge-trailing strokes, alternating sides. Then strop the knife on clean leather or a folded piece of newspaper placed on a flat surface. Use the same shallow angle and pull the blade away from the edge. A few controlled passes are enough.
Test the finished edge with paper, then use it on an onion or tomato. The knife should start the cut without crushing the surface. Avoid the temptation to test sharpness by shaving arm hair. It does not tell you much about performance through food, and it encourages unnecessary handling of a sharp blade.
Use a honing rod as maintenance, not repair
A ceramic honing rod is valuable when used correctly. Hold it vertically with the tip planted securely on a towel. Draw the knife down the rod at the same angle you sharpened, using light alternating passes. Five or six per side is usually enough.
A traditional grooved steel can work well on tougher Western knives, but it is less forgiving and can be too aggressive for thin, hard Japanese blades. Ceramic is the more versatile choice for a mixed home-kitchen collection.
Hone when the knife begins to feel slightly less direct, not after it becomes fully dull. For a frequently used chef knife, that may mean once a week or every few cooking sessions. Sharpening intervals depend on the steel, cutting board, cooking volume, and technique. A wood or quality composite board preserves an edge far better than glass, marble, or ceramic.
The shortcuts that cost you edge life
Pull-through sharpeners are not automatically useless, but most inexpensive models are blunt instruments. They set a fixed angle, remove metal quickly, and can leave a coarse, uneven edge. They are acceptable for inexpensive, heavy-use knives where speed matters more than edge quality. They are a poor default for a premium chef knife.
Electric sharpeners offer consistency and convenience, but their trade-off is material removal. They make sense in a high-volume household or small operation where several durable Western knives need quick service. For one or two good knives, stones provide better control and less waste.
Do not use a whetstone on serrated knives, single-bevel Japanese knives, or heavily damaged blades unless you understand their geometry. Serrations need a tapered rod. Single-bevel knives require a different sharpening strategy. Deep chips, bent tips, and loose handles are often better handled by a professional knife service.
Make sharpening part of the kitchen operating system
The efficient move is to stop treating sharpness as an emergency. Store knives in a magnetic strip, blade guard, or block that does not let edges collide. Hand-wash and dry them promptly. Use the right board. Hone lightly when performance begins to drop, and schedule stone sharpening before the knife is visibly struggling.
A chef knife should disappear into the work. When it is maintained well, prep becomes quieter, faster, and more controlled. That is the payoff: not a dramatic edge for one test cut, but a tool that performs predictably every time dinner starts.
If you found these tips helpful, explore more of our food & cooking guides.