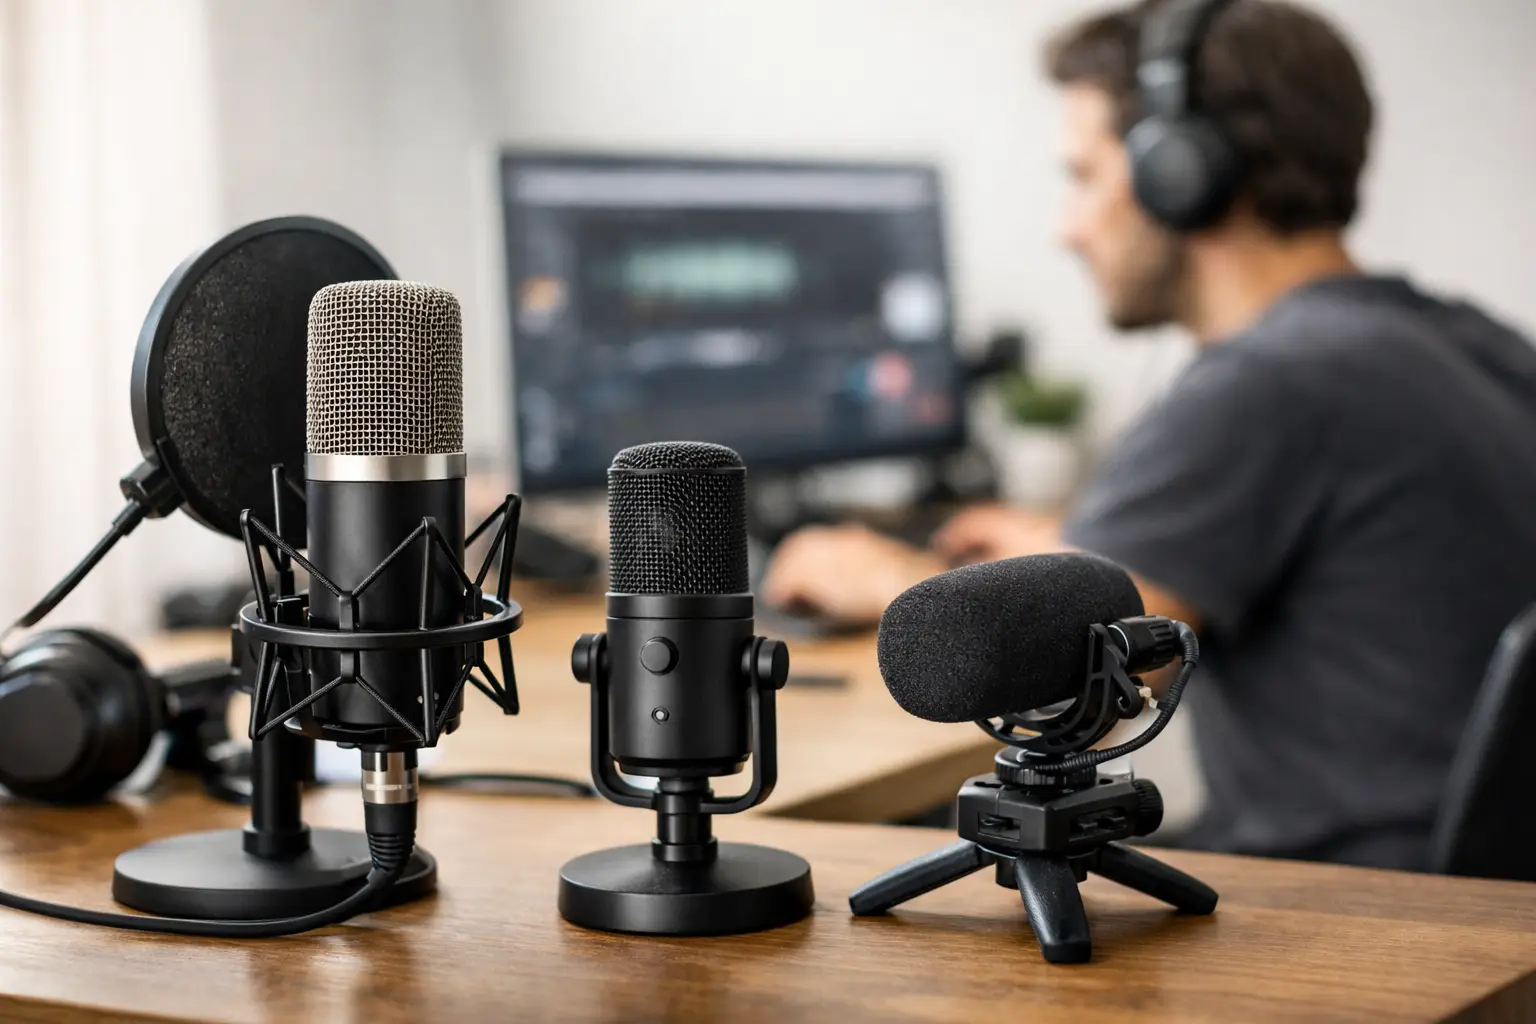
A solo creator can spend hours improving a video only to lose the viewer in the first 10 seconds because the audio sounds distant, echoey, or inconsistent. The best microphones for solo creators solve a workflow problem before they solve a sound problem: they let you capture usable audio without adding a production crew, a complicated signal chain, or a repair job in post.
The right choice depends less on a universal ranking and more on where you work. A dynamic microphone can keep a noisy apartment out of a podcast recording. A wireless system can make a walking video possible. A USB condenser can turn a laptop into a credible voiceover station in minutes. Buy for the recording environment and the format you publish most often, not for the microphone that looks best on another creator’s desk.
The best microphones for solo creators by workflow
Shure MV7+ for desk-based video and podcast production
The Shure MV7+ is the most sensible all-around option for creators building a desk-centered publishing system. It is a dynamic microphone with both USB-C and XLR outputs, which means it works directly with a computer now and can move into an interface-based setup later. That flexibility matters when a weekly podcast becomes a client interview series or a YouTube channel starts demanding more control.
Its close-mic design is particularly useful in apartments, home offices, and shared spaces. You still need to speak within a few inches of the capsule, but that is a manageable habit. The microphone’s software processing can help with level consistency and noise reduction, though it should not become an excuse for poor placement.
Choose the MV7+ if you record talking-head videos, podcasts, courses, or screen-share tutorials in one fixed location. It is not the cheapest USB microphone, but it prevents the common upgrade cycle of buying a basic USB model and replacing it once your publishing schedule becomes serious.
Rode NT1 5th Generation for treated rooms and voice work
The Rode NT1 5th Generation is a strong choice for creators who have a controlled room and want detail in their voice. Its dual USB and XLR connectivity makes it unusually adaptable, while its condenser capsule captures more nuance than most dynamic options. For narration, singing, product explainers, and polished interview intros, that detail can sound expensive.
The trade-off is equally clear: the microphone captures the room. Mechanical keyboards, air conditioners, traffic, bare walls, and a refrigerator cycling on will all have a better chance of entering the recording. If your workspace has rugs, curtains, soft furnishings, and a closed door, this can be an asset. If you record at the kitchen table next to family activity, it is the wrong tool.
Its USB recording capability also supports 32-bit float capture, which offers extra insurance against unexpected peaks. That is useful for energetic presenters, but it does not fix a clipped analog source or poor mic technique. Think of it as recovery room, not permission to ignore gain staging.
DJI Mic 2 for mobile video, interviews, and travel
For creators who publish in motion, the DJI Mic 2 is often more valuable than a premium desktop microphone. A compact wireless system changes what you can produce alone: walking tours, client-site explainers, hotel reviews, cooking demonstrations, car segments, and spontaneous interviews all become viable without placing a camera-mounted mic inches from your subject.
The system’s onboard 32-bit float recording is its major operational advantage. If the wireless connection suffers interference or a subject suddenly raises their voice, the transmitter’s internal recording gives you a recovery path. That safeguard is especially useful when there is no second person monitoring levels.
Use the transmitter as a clipped lavalier-style mic for speed, or connect a compatible lavalier mic when you need a less visible setup. The built-in noise reduction can be helpful in moderate environments, but aggressive processing can make voices sound processed. In a loud street setting, getting the microphone physically closer to the mouth still beats relying on software.
Sennheiser Profile Wireless for flexible field recording
The Sennheiser Profile Wireless system is built for solo shooters who need options on location. It combines two clip-on transmitters with a compact receiver and a charging bar that can also function as a handheld microphone. That design removes a frequent production bottleneck: realizing after arrival that a sit-down interview has become a walk-and-talk, or that one guest has turned into two.
It also records 32-bit float internally, giving it the same core safety net that makes modern wireless systems practical for one-person crews. The handheld capability is more than a novelty for event coverage, street interviews, and quick travel segments. It gives a creator a credible backup method without packing another mic.
This is not the purchase for someone who records only at a desk. It earns its price when your calendar includes field production and you need a small kit that can adapt without a case full of accessories.
Elgato Wave:3 for livestreams and routed desktop audio
The Elgato Wave:3 is aimed at creators whose audio workflow includes more than their voice. Its value is the software routing environment, which can organize a microphone, browser audio, music, alerts, video calls, and game sound into controllable channels. For livestreamers and educators running demonstrations, this is a meaningful systems advantage.
The microphone itself is a USB condenser, so room treatment and placement matter. It works best when positioned close to the speaker, off-axis from keyboard noise, and paired with a boom arm rather than left on a desk stand. Its Clipguard feature can help avoid ruined takes when your volume jumps unexpectedly.
Choose it for a Windows or Mac workstation where live audio mixing is part of the job. If your output is mostly podcast audio or simple talking-head videos, the software ecosystem may be more than you need.
Shure SM7dB for a permanent studio setup
The Shure SM7dB is the premium pick for creators who want a broadcast-style sound and expect to build around XLR hardware. It keeps the classic dynamic character of the SM7B while adding an integrated preamp, reducing the need for an external gain booster. That simplifies a signal chain that has frustrated many first-time XLR buyers.
This is a purpose-built studio microphone, not a travel solution. It requires an audio interface, a sturdy boom arm, and a fixed recording position. It also rewards technique: close placement, controlled plosives, and steady speaking distance. When those conditions are in place, it handles untreated rooms better than a sensitive condenser and delivers a dense, authoritative vocal sound.
The cost is difficult to justify for an occasional creator. It makes sense when voice is central to your business, whether that means long-form video, podcasts, paid education, or recurring client work.
Match the microphone to the room before the budget
The usual mistake is treating microphone quality as a straight line from cheap to expensive. It is not. A $100 dynamic microphone positioned correctly can outperform a $300 condenser placed three feet away in a reflective room. The real ranking starts with distance from your mouth, room noise, and the amount of setup friction you will tolerate every time you press record.
If your room is noisy, choose a dynamic mic and use a boom arm so the capsule can stay close. If your room is quiet and you want crisp narration, a condenser may give you more detail. If you work outside or move through spaces, prioritize a wireless system with onboard recording over a desk microphone with marginally better tonal character.
Connection type is the next decision. USB is fastest and cleanest for one-person production. XLR offers more equipment choice and long-term control, but adds an interface, cables, and gain management. Hybrid USB/XLR microphones are useful for creators who want an easy start without blocking a more advanced setup later.
Build a recording system, not a shopping cart
A microphone rarely fails alone. The weak point is often the desk stand that keeps it too far away, the untreated wall behind the speaker, or the camera workflow that forces you to sync audio after every shoot. Put a modest amount of budget into the rest of the chain: a boom arm, closed-back headphones, a basic windscreen, and enough soft material in the room to reduce harsh reflections.
Set one repeatable recording position. Mark the arm height, keep the microphone at the same distance, and use a short preflight routine before every session: check battery or USB power, confirm the input source, record a 10-second test, and listen through headphones. This turns audio quality from a recurring gamble into an operating procedure.
The best microphone is the one that makes you publish more confidently. Choose the tool that fits your real room and real schedule, then build the small set of habits that lets it sound good every time.