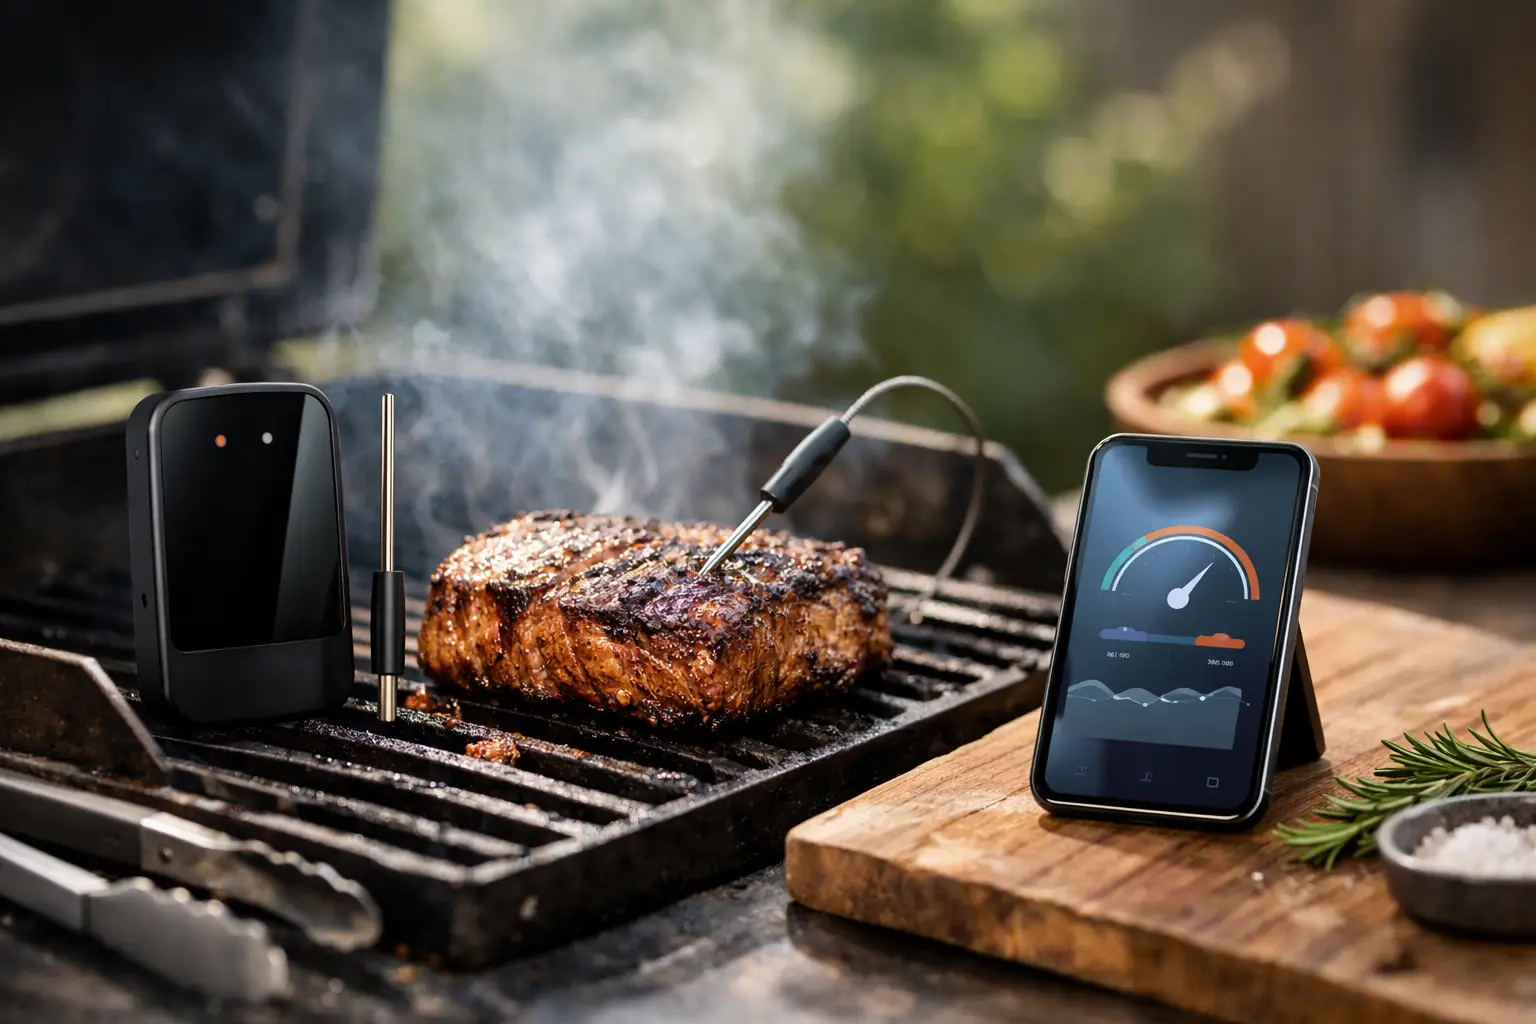
A wireless meat thermometer setup earns its counter space when it prevents the two failures that ruin otherwise good cooking: opening the oven or grill every ten minutes, and discovering the center is wrong after the meat has rested. The hardware is simple. The operating discipline is not. A reliable setup depends on signal planning, probe placement, alert logic, and a clear distinction between cooking temperature and serving temperature.
For an advanced home cook, the goal is not to stare at an app from the patio. It is to build a repeatable system that lets you run a reverse-seared ribeye, a whole chicken, or a long brisket cook with less interruption and better control.
Build the Wireless Meat Thermometer Setup Before You Cook
Do not pair a new thermometer when a roast is already in a 450-degree oven. Charge the probe and its booster or dock first, then update the app and firmware if the manufacturer prompts you to do so. A surprising number of connection complaints come down to a partially charged probe or a neglected software update.
Pair the device with the phone you will actually carry during the cook. If your household shares cooking duties, add a second approved device only if the thermometer supports it cleanly. Multiple phones fighting for a Bluetooth connection can create confusion at exactly the wrong moment.
Then run a short bench test. Leave the probe near the booster, walk to the edge of your kitchen, and check whether the app maintains a connection. Repeat from the patio or the room where you expect to work while the food cooks. Stainless steel appliances, masonry walls, closed grill lids, and outdoor distance all reduce Bluetooth performance. A premium probe does not repeal the physics of radio signal interference.
If your unit includes a wired ambient sensor or a signal-boosting base, position that component outside the grill or smoker according to its heat rating. Do not treat the base as a decorative charging stand. In many systems, it is the bridge that makes the difference between a stable remote readout and repeated dropouts.
Set alerts around decisions, not anxiety
Use the app to set a target temperature and, when available, an early-warning alert. The early alert is the useful one. It tells you when to begin managing the finish: heating a cast-iron pan, checking the grill’s hot zone, preparing a rest rack, or making space in the oven.
For steaks and chops, set the alert several degrees below your desired final temperature. For larger roasts, poultry, and barbecue, account for carryover cooking based on the cut, cooking environment, and resting plan. A thick prime rib cooked hot can climb meaningfully after removal. A pork tenderloin will generally climb less. The app’s predicted finish time is a planning tool, not a contract.
Avoid stacking every notification available. Connection notices, temperature changes, estimated completion alerts, and battery warnings can turn a useful tool into background noise. Keep the target alert, the early alert, and any genuinely critical signal-loss notification. Everything else is optional.
Probe Placement Is the Real Skill
The best thermometer cannot correct a probe sitting in a fat seam, touching bone, or parked too close to the surface. Most inaccurate readings are placement errors disguised as equipment problems.
Insert the probe into the thickest section of the meat, aiming for the thermal center. With a long, fully wireless probe, insert from the side rather than straight down when possible. That lets the sensing tip reach the center while keeping the wireless end outside the food and away from direct heat. Follow the probe’s minimum insertion line exactly. The internal antenna and sensor layout depend on it.
For a thick steak, enter through the side and aim horizontally toward the center. For chicken breast, place the probe in the deepest part of the breast, avoiding the breastbone. For a whole chicken or turkey, the thigh is often the more useful control point because it cooks more slowly, but check breast temperature separately near the end if you are optimizing for a specific finish. For pork shoulder and brisket, choose the densest part of the muscle and stay clear of large fat deposits and the point-to-flat transition.
A single probe measures one location, not the entire roast. That matters with irregular cuts and crowded grills. A two-probe system is justified when you are cooking a large roast, multiple proteins, or anything with uneven geometry. One probe can track the slowest zone. The other can verify the area most likely to overcook.
Keep the probe out of its own danger zone
Wireless probes have maximum ambient-temperature limits, and those limits are not suggestions. The internal sensor may tolerate a higher temperature than the exposed end, or the reverse may be true depending on the design. Read the device specifications before using it in a pizza oven, beneath an aggressive broiler, or directly over a coal bed.
The practical rule is simple: the probe belongs in the food, not in the flame path. If a steak needs a hard final sear, pull it a little early, remove the probe if the manufacturer advises it, then finish with a fast sear and verify doneness with an instant-read thermometer if necessary. This is one of the few moments when a fast, wired instant-read tool remains the better instrument.
Design the Cook Around the Thermometer
A thermometer should improve your cooking workflow, not replace judgment. Start with a target endpoint, then choose the cooking method that gives you enough control to reach it.
For reverse-seared steak, use the wireless probe during the low oven or indirect-grill phase. Set the early alert about 10 to 15 degrees below the temperature you want before searing. Once the steak reaches that point, shift to the finishing station. The probe has done its most valuable work by protecting the interior from overshoot.
For smoked barbecue, the thermometer provides different value. It tracks the long middle portion of the cook, warns you when a stall is becoming a scheduling problem, and gives you confidence to stop lifting the lid. Still, tenderness determines the finish for collagen-heavy cuts. A brisket can read a technically acceptable internal temperature and remain tight. Probe tenderness, bark condition, and the feel of the flat matter alongside the number.
For poultry, use the tool to avoid the common mistake of treating one reading as universal. Different parts cook at different rates, and food-safety guidance should govern your final target. If the breast is ready while the thighs lag, adjust the heat exposure or shield the breast rather than waiting passively for the app to declare victory.
The system also works best when the thermometer is paired with a rest plan. Move finished meat to a rack or warm platter, not a cold cutting board swimming in juices. Record the pull temperature and final temperature for cuts you cook often. After three or four cooks, you will have a far more useful personal database than generic app presets can provide.
Manage Signal Loss Without Ruining Dinner
Bluetooth drops are frustrating, but they are usually manageable. First, do not open the oven or grill just to restore the connection. That changes the cooking environment and can cost more time than the disconnect itself. Bring the phone closer, confirm the booster has power, and give the app a minute to reconnect.
If drops happen regularly, change the layout. Keep the booster in line of sight when possible, avoid placing it behind a metal grill body, and do not bury your phone in a bag or leave it inside a car. For long outdoor cooks, a thermometer system with Wi-Fi capability or a base that relays data through your home network can be worth the higher price. Bluetooth-only models are excellent for compact kitchens and short grill sessions, but they have a shorter practical leash.
Build redundancy for high-stakes meals. Keep an instant-read thermometer nearby and use it to validate the wireless reading before serving a holiday roast or expensive cut. This is not distrust. It is standard kitchen quality control, especially when meat shape, probe placement, and carryover temperature all introduce variables.
Clean, Recharge, and Store for the Next Cook
The last five minutes determine whether the tool is ready next weekend. Let the probe cool enough to handle, wipe off grease promptly, and wash it only as its water-resistance rating allows. Do not leave a probe soaking in a sink. The seals, charging contacts, and electronics are durable kitchen hardware, not indestructible utensils.
Dry the probe fully before returning it to the charger. Check that it seats correctly and confirms charging in the app or on the dock. If you cooked over wood or charcoal, inspect the probe for soot around the exposed end and clean it gently. Store the system where you keep your finishing tools, not in a random gadget drawer. A thermometer that is charged, clean, and within reach becomes part of the cooking line.
The payoff is quieter cooking. Once the wireless thermometer is placed correctly and its alerts are set with intent, you can spend less time chasing numbers and more time making the decisions that actually improve the meal.
If you found these tips helpful, explore more of our food & cooking guides.