Disclosure: This post contains affiliate links. If you buy through these links, I may earn a small commission at no extra cost to you.
The perfect everyday sandwich bread is surprisingly elusive. I tested version after version, adjusting hydration, trying different flour brands, and swapping sweeteners. Some loaves came out too dense, others crumbled when I sliced them, and many lacked that golden, flavorful crust you want in bread you eat every day.
This daily sandwich bread recipe is the version that finally worked. Two changes made the difference: I switched from brown sugar (mascabado) to honey, and I used slightly less yeast than in my earlier attempts.
Honey is a natural humectant, which means it attracts and holds moisture. That keeps the bread soft for days and gives the crust a warm golden color. Less yeast means a slower, more controlled rise, which builds a tight, velvety crumb that slices thin without falling apart.
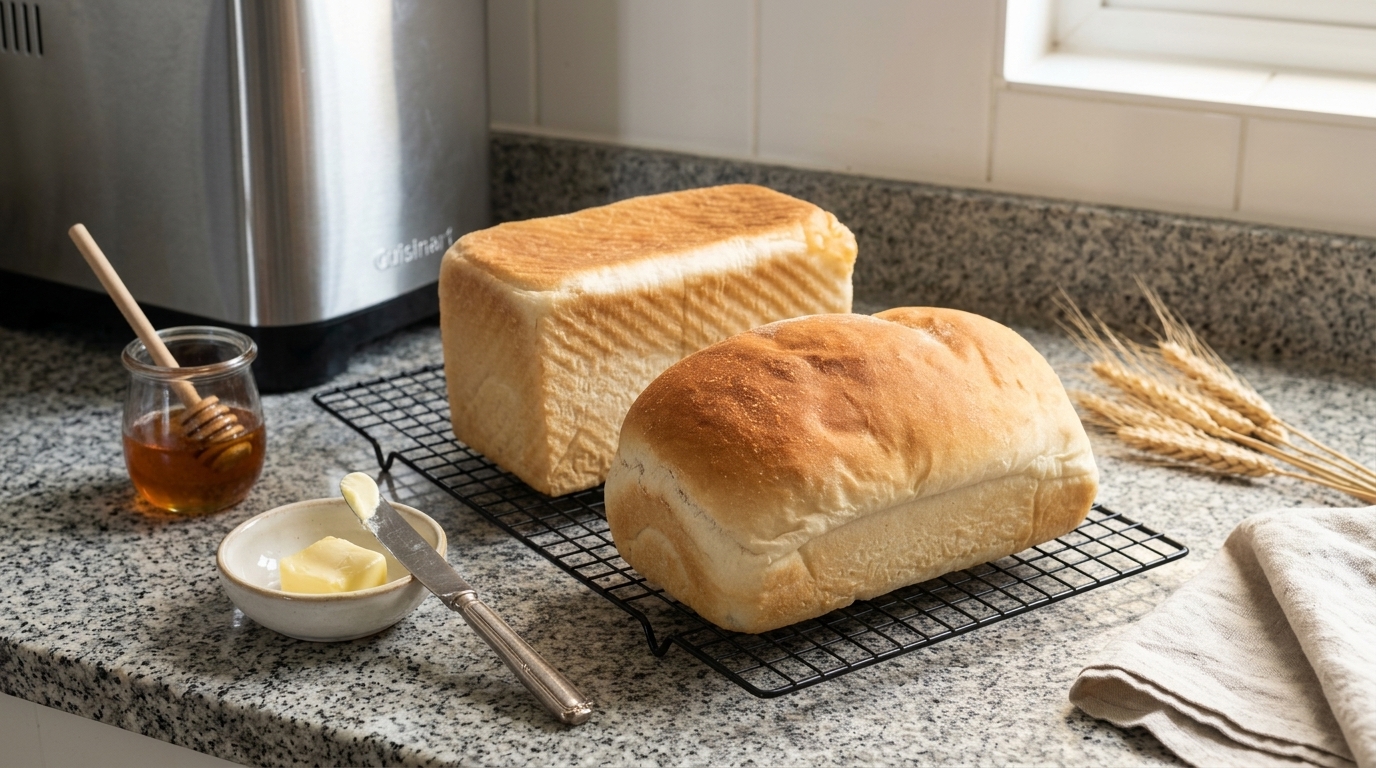
My bread maker does the hard work on its dough cycle, handling the kneading and the first rise. Then I shape the dough by hand and bake it in a loaf pan for a clean, bakery-style finish.
Kitchen Essentials
- Cuisinart Bread Maker: our go-to for effortless, hands-off kneading.
- Pullman Loaf Pan with Lid: the secret to perfectly square slices with a thin, soft crust.
- Digital Kitchen Scale: the single most important tool for consistent bread (more on that below).
- Unbleached Organic All-Purpose Flour: our favorite flour for reliably good results in our kitchen.
Why We Always Weigh Our Ingredients
Every ingredient in this recipe is listed in grams, and that’s on purpose. A cup of flour can weigh anywhere from about 120 g to 160 g, depending on how you scoop it. That difference is enough to turn a soft loaf into a dense brick or a sticky mess.
A digital kitchen scale takes out the guesswork, so you get the same dough every time. It also means fewer dishes: set your bread maker pan on the scale, press “tare” to zero it, and add each ingredient straight into the pan.
Look for one that measures in 1 g increments, since small amounts like yeast and salt really matter.
Soft Honey Sandwich Loaf
Ingredients
Method
Step 1: Knead in the Bread Maker
- Pour the water (250 g), oil (25 g), and honey (25 g) into the pan of your bread maker.
- Add the salt (6 g).
- Spread the flour (375 g) evenly over the liquids so it covers them completely.
- Make a small well in the center of the flour and add the yeast (3 g). This keeps the yeast dry and away from the salt until mixing begins.
- Select the DOUGH cycle and press start. The machine will knead the dough and give it its first rise.
Step 2: Degas and Shape
- When the cycle finishes, turn the dough out onto a lightly oiled work surface.
- Press down gently with your hands to release the large air bubbles.
- Pat the dough into a rectangle, then roll it up tightly into a cylinder about the length of your pan, like rolling a burrito. Pinch the seam closed. A tight roll helps prevent gaps and air pockets in the crumb.
Step 3: Choose Your Pan and Bake
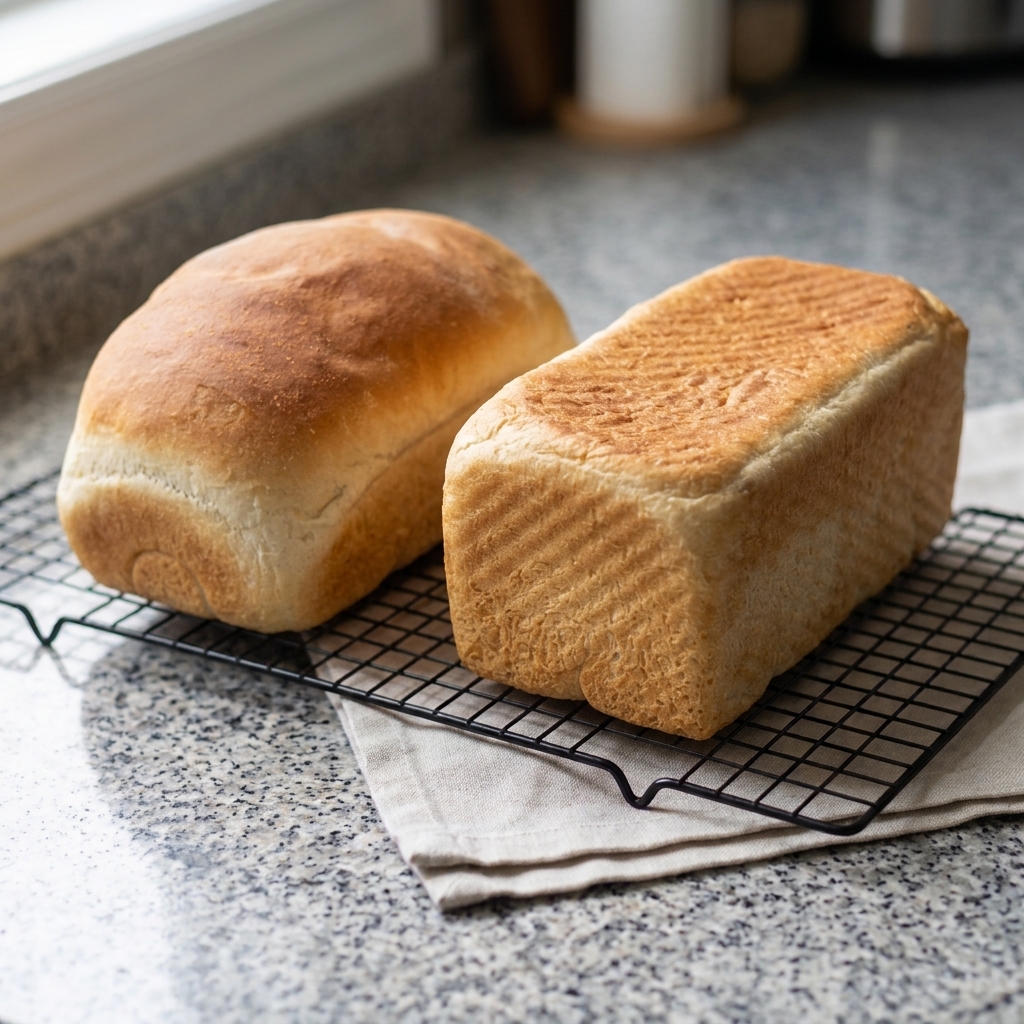
Option A: Pullman Pan (for square sandwich slices)
- Grease the pan and the inside of its lid well with butter or oil.
- Place the dough in the pan, seam side down.
- Slide the lid on, leaving about 1 cm open so you can watch the rise.
- Let it rise at room temperature until the dough reaches about 80% of the pan's height, roughly 2 cm below the rim. This usually takes 30 to 60 minutes, depending on how warm your kitchen is.
- About 20 minutes before you expect the dough to be ready, preheat your oven to 180°C (350°F). Countertop ovens often heat faster, so check yours.
- Close the lid completely and bake for 32 minutes. Keep the lid on for the entire bake.
Option B: Standard Loaf Pan (for a classic domed top)
- Grease the pan.
- Place the dough in the pan, seam side down.
- Cover loosely with a clean kitchen towel or greased plastic wrap.
- Let it rise until the top of the dough domes 2 to 3 cm (about 1 inch) above the rim. This usually takes 30 to 60 minutes.
- About 20 minutes before you expect the dough to be ready, preheat your oven to 180°C (350°F).
- Bake uncovered for 28 to 32 minutes, until deep golden. If the top browns too quickly after about 20 minutes, cover it loosely with aluminum foil.
Step 4: Cool Completely
- Turn the loaf out of the pan onto a wire rack as soon as it comes out of the oven. Leaving it in the pan traps steam, which makes the sides and bottom soggy.
How to Tell When It’s Done
After a few bakes, you’ll know your oven well enough to go by the clock and your instincts. Until then, these cues will help:
- Internal temperature: An instant-read thermometer inserted into the center reads 88–93°C (190–200°F). This is the most reliable test.
- Color: The crust is deep golden on all sides, not just the top. With a Pullman loaf, check the sides when you unmold it. If they’re pale, put the loaf back in the oven without the pan for 3 to 5 minutes.
- Sound: Tap the bottom of the loaf. It should sound hollow.
- Feel: Gently squeeze the sides. A finished loaf springs back, while an underbaked one feels soft and may stay dented.
Chef’s Notes and Storage Tips
Slice and Freeze for Fresh Bread on Demand
With no preservatives, this bread goes stale faster than store-bought, usually within 2 to 3 days on the counter. Here’s our household routine for fresh bread whenever we want it:
- Cool completely first. Never slice warm bread you plan to freeze. Let it reach room temperature on the rack so the crumb fully sets.
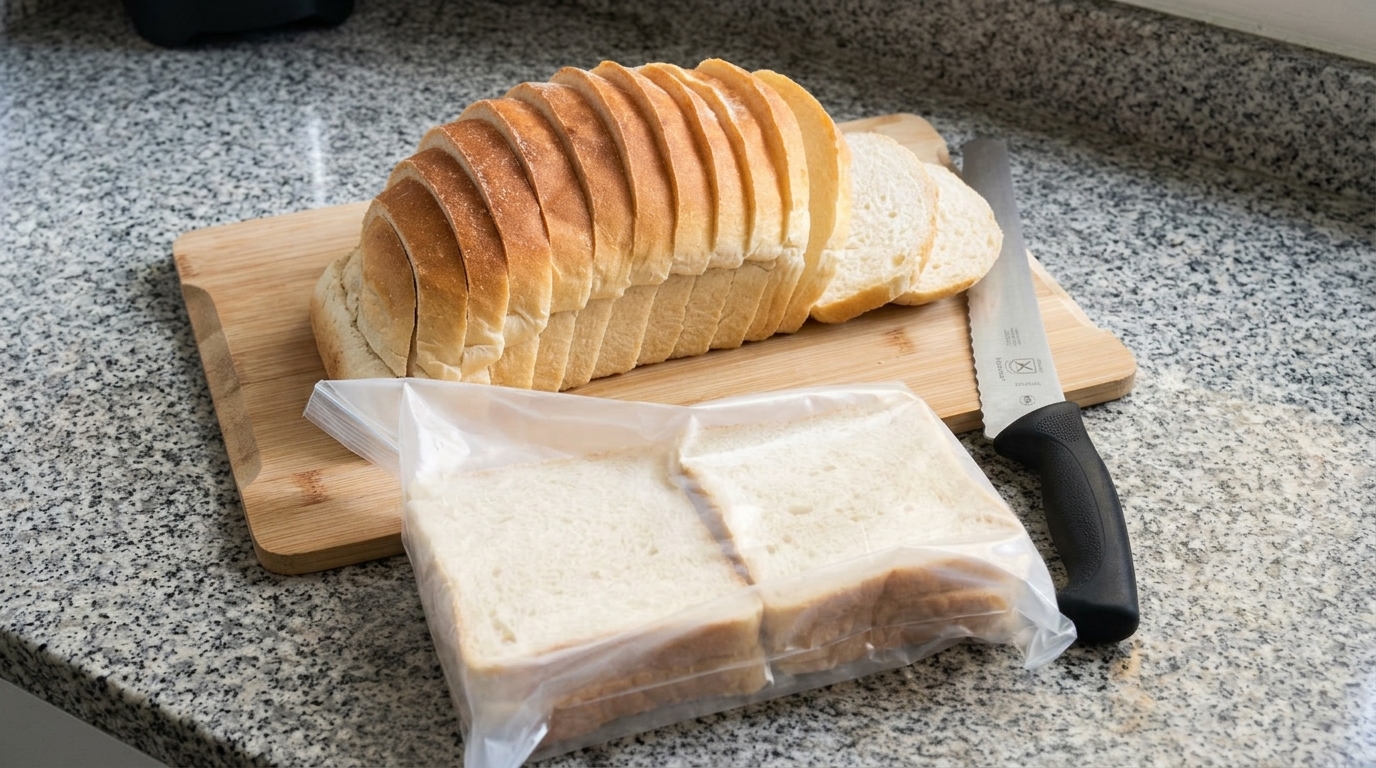
- Slice the whole loaf. Cut it to your preferred sandwich thickness. Make sure to use a good-quality serrated knife.
- Bag and seal. Pack the slices into gallon-size zip-top freezer bags and press out as much air as you can before sealing.
- Toast straight from frozen. Pull out slices as needed and pop them directly into the toaster. They come out crisp outside and soft inside, just like the day they were baked.
Pre-sliced bread keeps well in the freezer for up to 3 months.
Flexible Sweeteners
Honey is our default for its rich browning and moisture retention, but brown sugar (mascabado) works as a 1:1 substitute by weight. Honey contains a little water, and brown sugar doesn’t, so add about 1 teaspoon of extra water if the dough looks stiff during kneading. You’ll still get a tender loaf, with a warm caramel note.
Happy baking!