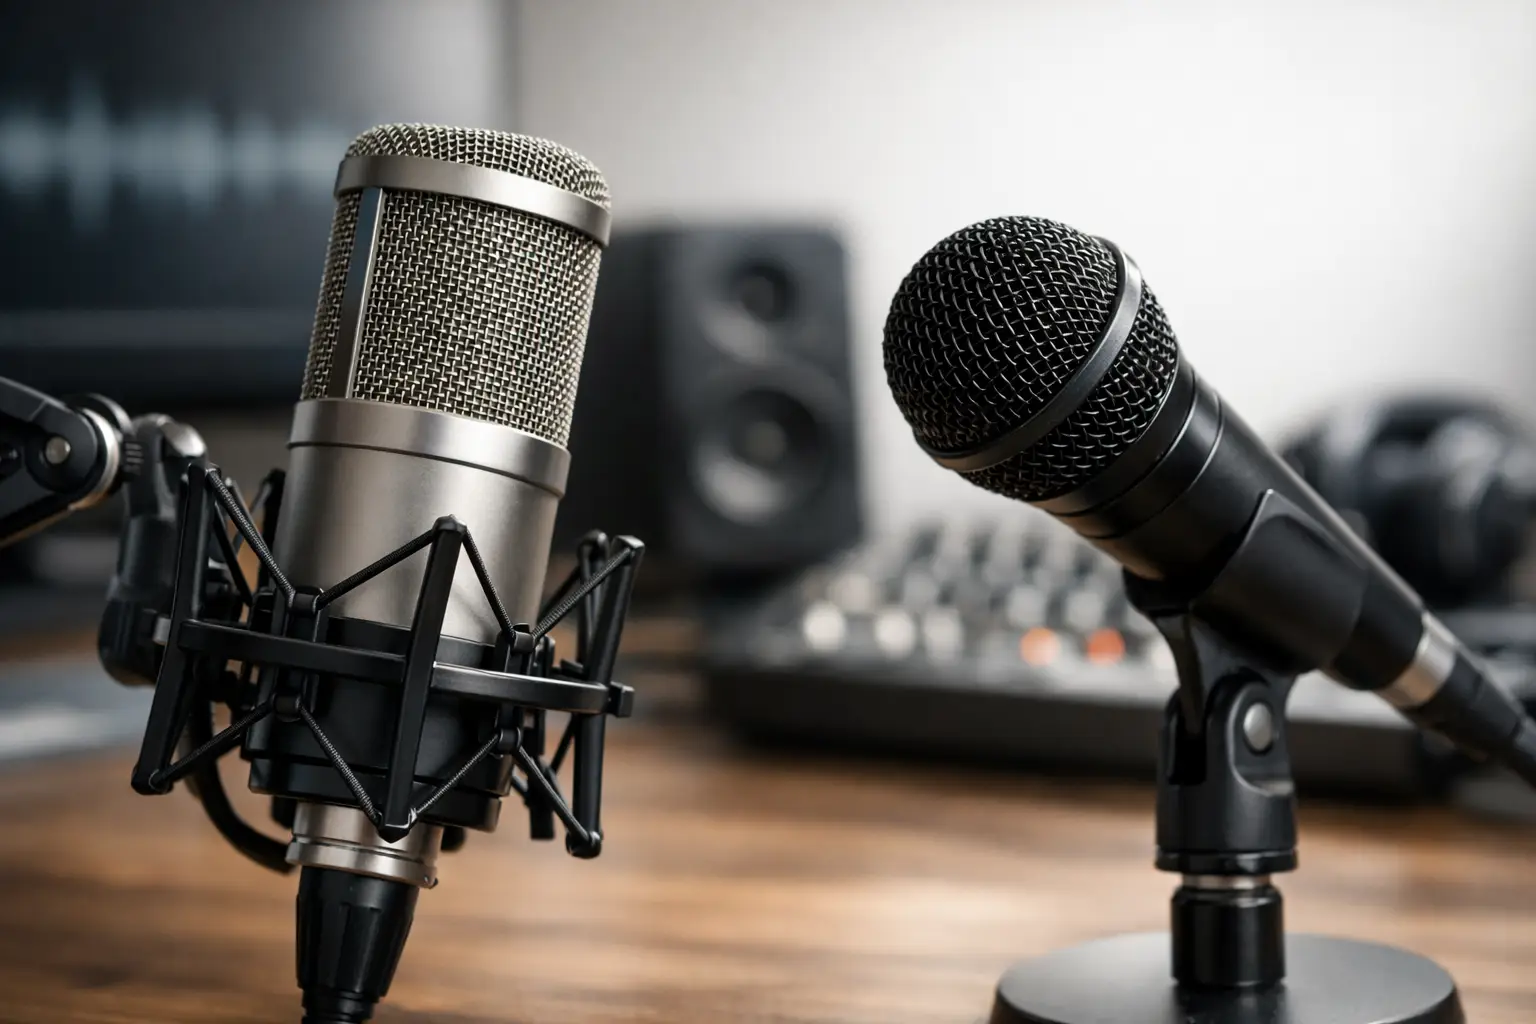
A microphone choice can quietly create hours of editing work. In the condenser microphone vs dynamic debate, the better option is rarely the one with the most impressive spec sheet. It is the one that captures your voice, instrument, or stream reliably in the room you actually use, with the workflow you can sustain.
A creator recording in a treated office, a founder taking remote interviews from a glass-heavy apartment, and a musician tracking vocals over a loud computer fan do not need the same tool. The useful question is not, “Which microphone sounds better?” It is, “Which microphone gives me the cleanest, most controllable signal before I open my editing software?”
The Condenser Microphone vs Dynamic Decision Starts With the Room
Condenser microphones are highly sensitive. They capture detail, including vocal texture, breath, acoustic guitar transients, and subtle room reflections. In a quiet, treated space, that sensitivity can produce an open, polished recording with very little effort. It is why condensers remain common in vocal booths, studio voiceover rooms, and carefully managed music sessions.
That same sensitivity becomes a liability in a typical home setup. Bare walls, windows, hard desks, HVAC noise, keyboard clatter, and traffic can all become part of the recording. Software can reduce some of that noise, but aggressive cleanup often adds a processed quality and consumes time. A condenser does not create room problems. It reveals problems already there.
Dynamic microphones are less sensitive and generally require a speaker to work closer to the capsule. This tighter working distance reduces the proportion of room sound in the final recording. That is a major operational advantage for podcasters, video-call hosts, gamers, and solo creators who record from bedrooms, home offices, and shared spaces.
The broad rule is straightforward: the worse the room, the stronger the case for a dynamic microphone. It is not a verdict against condensers. It is a recognition that source-to-mic distance and room control matter more than marketing language about clarity.
| Factor | Condenser microphone | Dynamic microphone | | — | — | — | | Sensitivity | High, captures fine detail | Lower, favors close sources | | Room pickup | More reflections and background noise | Less room and ambient noise | | Typical power needs | Usually requires 48V phantom power | Usually works without phantom power | | Best fit | Treated rooms, vocals, acoustic instruments | Home studios, podcasting, live or noisy spaces | | Technique | More forgiving at a moderate distance | Requires close, consistent positioning |
Choose for the Job, Not the Category
A condenser is often the better tool for singing, acoustic instruments, and voiceover work where detail is the priority and the room is under control. A large-diaphragm condenser can capture the air around a vocal performance and the quick attack of a picked guitar in a way many entry-level dynamics cannot. If your recordings are intended for music production, and you can manage reflections with panels, rugs, curtains, or a dedicated recording corner, a condenser earns its place.
For spoken-word content, the decision changes. Podcast listeners care more about intelligibility, even levels, and freedom from distracting noise than they care about hearing every breath or the dimensions of your office. A broadcast-style dynamic can make a modest room sound more intentional because it keeps the voice forward and the environment back.
This matters for business communication, too. If you host client webinars, teach online, record training modules, or produce internal video updates, consistency beats studio mystique. A dynamic microphone placed correctly can make every session sound controlled without demanding that you rearrange your office or pause recording whenever the air conditioner starts.
There are exceptions. A well-positioned condenser in a quiet office can be excellent for a calm, articulate speaker. A quality dynamic can also handle singing and instruments beautifully. Categories guide the decision, but microphone model, polar pattern, placement, and preamp quality still shape the result.
The Hardware Setup Changes the Answer
The microphone is only one component of a recording system. Treating it as a standalone purchase is how people end up with expensive gear that sounds disappointing.
Most studio condensers use XLR and need 48V phantom power from an audio interface, mixer, or dedicated preamp. Phantom power is normal and safe for a standard condenser when the equipment is connected properly. Many dynamic microphones do not need it, although certain active dynamics do. Check the manufacturer’s requirements rather than assuming all XLR microphones behave the same way.
Dynamics often need more clean gain than condensers. If your interface has a weak preamp, you may need to turn its gain nearly all the way up, which can introduce hiss. Some low-output broadcast dynamics benefit from an inline gain booster, but do not buy one automatically. First test the microphone with your interface at your normal speaking volume. A modern interface with adequate clean gain may eliminate the need for extra hardware.
USB microphones simplify the chain by combining the mic and interface. They are practical for travel, quick remote setups, and creators who want fewer moving parts. The trade-off is flexibility. An XLR microphone and interface let you upgrade components separately, use multiple microphones, and troubleshoot each stage of the signal path. If recording is becoming part of your work system rather than an occasional task, XLR is usually the more durable path.
Placement Beats Price More Often Than People Expect
A $100 dynamic placed four inches from a speaker’s mouth can outperform a $400 condenser positioned two feet away in an untreated room. The first recording has stronger vocal presence and less ambient sound. The second has more distance, more echo, and a harder cleanup job.
For a dynamic, start close, roughly two to six inches from the grille. Speak slightly across the microphone rather than directly into it. This reduces plosive bursts from “p” and “b” sounds while keeping the voice present. A foam windscreen or external pop filter helps, particularly for energetic speakers.
With a condenser, start farther back, often six to ten inches, with a pop filter between you and the capsule. Watch your room more carefully. Point the microphone so its least-sensitive area faces the biggest noise source when possible. If your computer fan sits to one side, rotate the setup rather than relying on noise reduction later.
Consistency is the hidden advantage of a boom arm. It keeps your microphone at the same height and distance every session, which means less level matching and EQ adjustment across episodes or videos. For anyone building a repeatable content operation, that is more valuable than a minor bump in microphone quality.
Think in Editing Hours and Failure Points
The right purchase is often the one that removes decisions. A dynamic microphone in a normal room can reduce retakes caused by street noise, cut time spent removing echo, and make audio levels easier to manage. Over a year of weekly recording, those gains can matter more than the extra high-frequency detail a condenser may provide.
A condenser can be the smarter investment when your system supports it: quiet room, controlled acoustics, capable interface, deliberate mic placement, and recordings where nuance is part of the product. A chef filming detailed narration in a treated test kitchen, a musician tracking demos, or a consultant producing premium voiceover can justify that precision.
Do not confuse a dynamic microphone’s narrower practical use case with lower status. Broadcast studios have relied on dynamic microphones for decades because they are dependable under imperfect conditions. Likewise, do not dismiss condensers as fragile studio ornaments. In the right room, they provide detail that a dynamic may smooth over.
A Practical Buying Rule
Choose a dynamic microphone if you record spoken content in an untreated or moderately noisy space, share a home, work near a computer, or want the simplest path to consistent podcast and video audio. Choose a condenser microphone if you record in a quiet, controlled room and need detailed vocals, acoustic instruments, or polished voiceover texture.
If you are uncertain, assess your space before your budget. Record a short sample on your phone from your intended position. Clap once, then listen on headphones. If you hear a long, bright tail after the clap, your room is reflective. If you hear HVAC, traffic, appliances, or family activity, your environment is active. Those are strong signals to favor a close-working dynamic.
The microphone should fit the work you are doing now, not the studio you imagine building someday. Get a signal that is clean enough to publish with confidence, then let your audience notice the ideas, the performance, and the consistency behind them.